Garlic is the closest thing gardening has to a magic trick: you plant a clove in the fall, ignore it all winter, and pull up a full bulb the following summer — multiplied fivefold. It’s one of the most satisfying crops a beginner can grow, demanding almost nothing while delivering harvests that put grocery-store garlic to shame. Homegrown garlic tastes notably better — more complex, more pungent, with varieties you’ll never find in a supermarket. And the process is genuinely simple once you understand the timing. Here’s the complete step-by-step guide to growing garlic at home, from choosing varieties to curing your harvest.
Step 1: Choose the right garlic type
Garlic splits into two families, and the choice matters. Hardneck varieties produce a flowering stalk (the delicious “scape”), form fewer but larger cloves, and offer the most complex flavors — they’re the connoisseur’s choice and they thrive in cold climates with real winters. Softneck varieties don’t produce scapes, store longer (8–12 months versus hardneck’s 4–6), braid beautifully, and suit milder climates. For most northern gardeners, hardneck is the winner; for the South and for maximum storage, softneck.
Buy seed garlic from a garden supplier, not the grocery store. Grocery garlic is often treated with sprout inhibitors, may carry disease, and is usually a variety poorly suited to your climate. Seed garlic costs more per bulb but each bulb plants 5–8 cloves, so one $15 order plants a serious crop. Popular beginner-friendly hardnecks include Music (huge cloves, reliable) and German Extra Hardy; for softneck, Inchelium Red is a proven performer.
Step 2: Time it right (fall planting is the secret)
Here’s the counterintuitive key: garlic is planted in fall, not spring. Cloves need 4–8 weeks of root growth before the ground freezes, then winter cold triggers the vernalization that tells the plant to form a bulb rather than a single round. Plant too late (after freeze) and roots never establish; plant in spring and you’ll harvest sad, undersized “rounds” instead of proper bulbs.
The rule: plant 2–4 weeks after your first fall frost date but before the ground freezes solid — typically October through November in most northern zones, as late as December in mild climates. Check the USDA’s growing zone resources for your area’s frost dates if you’re unsure. Mark it on the calendar now; fall planting sneaks up on every gardener the first year.
Step 3: Prepare the bed
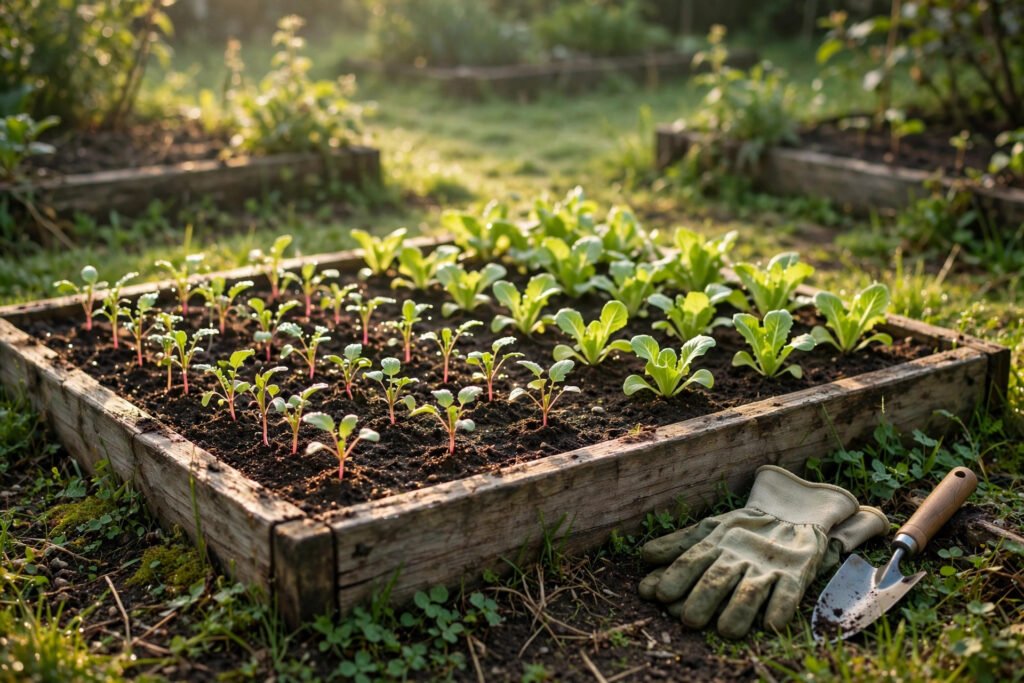
Garlic wants full sun (6+ hours), well-draining soil, and rich fertility — it’s a heavy feeder. Work 2–3 inches of compost into the top 6–8 inches of soil, and consider a balanced organic fertilizer at planting. Raised beds are ideal because they drain well and warm faster in spring; if you don’t have one, learn how to build a simple raised bed — garlic is a perfect first crop for new beds. Avoid spots where onions or garlic grew in the last three years (disease rotation matters for alliums).
Test drainage with the squeeze test: grab a handful of moist soil and squeeze. It should hold together loosely then crumble — if it forms a slick ball, add compost and consider raising the bed. Garlic rots in waterlogged soil faster than almost any other vegetable.
Step 4: Plant the cloves
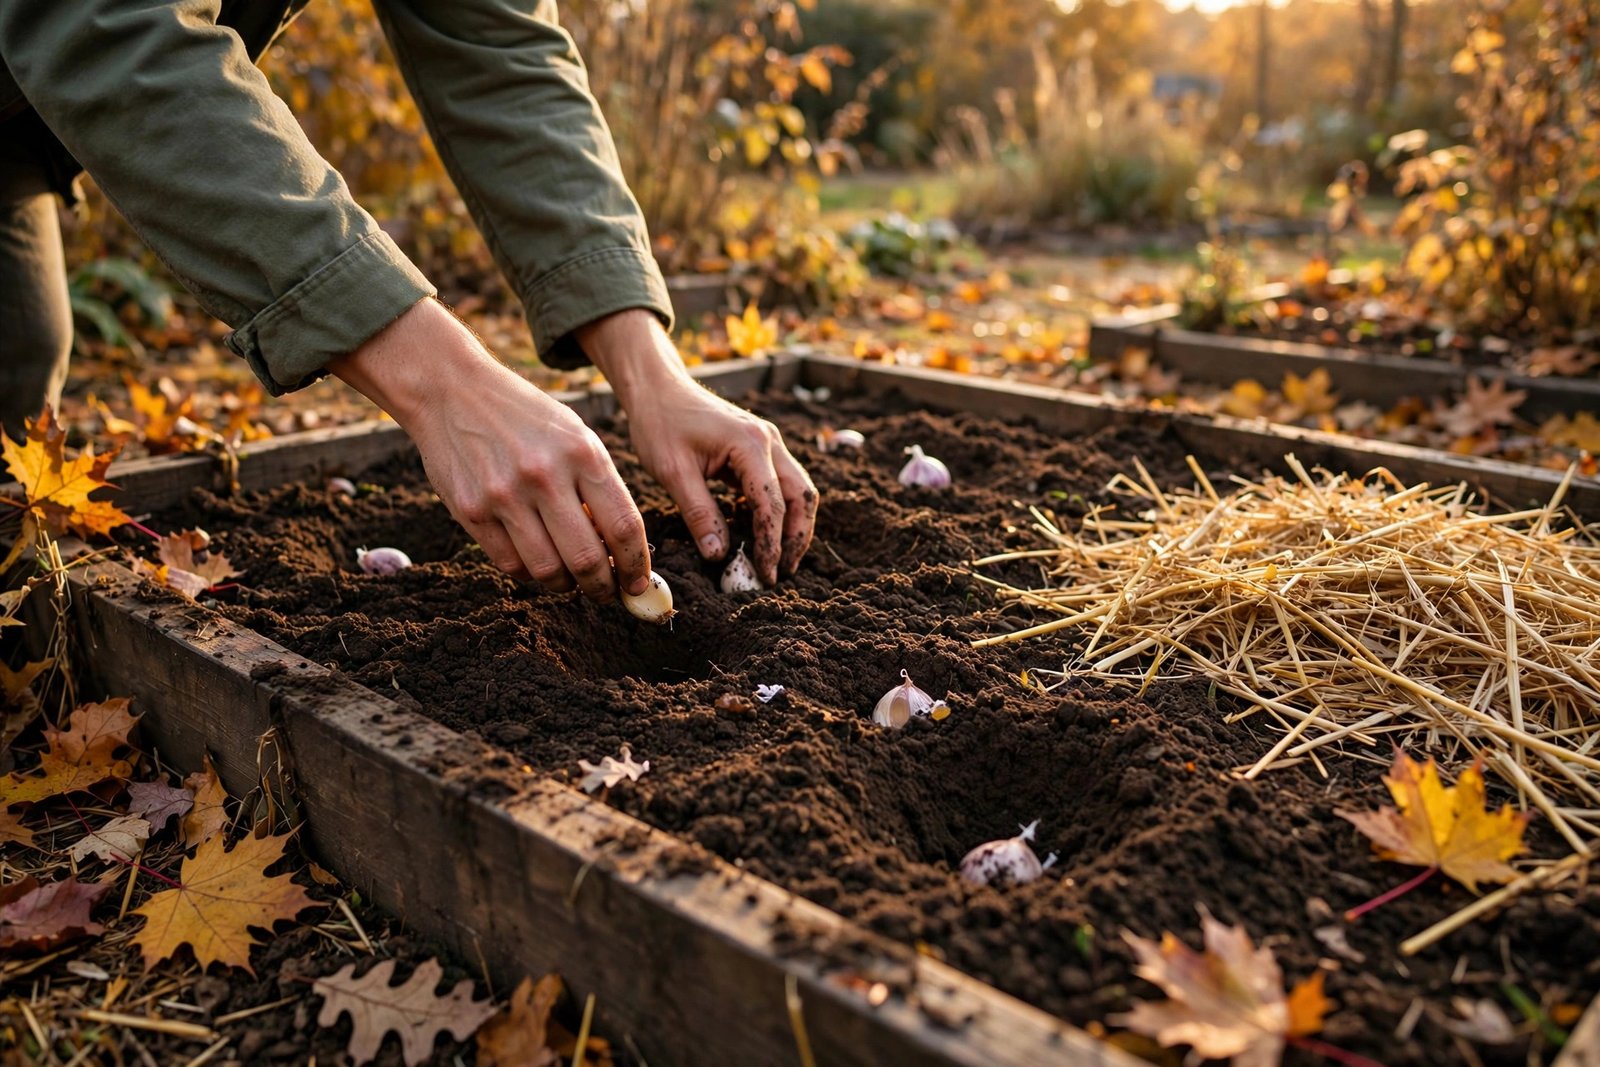
Break bulbs into individual cloves the day of planting (not earlier — exposed cloves dry out), keeping the papery skin intact and discarding any damaged or tiny cloves. Plant each clove pointed-end up, 2 inches deep, 6 inches apart in rows 8–12 inches apart. The pointed-up orientation matters — upside-down cloves still grow but waste energy reorienting, producing weaker plants.
After planting, water thoroughly once, then mulch heavily — 4–6 inches of straw or shredded leaves. Mulch is non-negotiable for fall-planted garlic: it insulates against freeze-thaw cycles that heave cloves out of the ground, suppresses spring weeds, and retains moisture. Then walk away. Seriously — no more watering needed until spring growth appears.
Step 5: Spring and summer care
When green shoots emerge in spring, the work resumes lightly. Water about an inch per week if rain doesn’t provide it, stopping 2–3 weeks before harvest (dry conditions at the end improve storage). Side-dress with compost or nitrogen fertilizer in early spring when shoots are 6 inches tall. Weed gently — garlic roots are shallow and compete poorly, but aggressive hoeing damages them.
For hardneck varieties, the scapes appear in early summer: curly flower stalks that should be snapped off when they make one full curl. This redirects energy into bulb growth (bigger harvests) and gives you a delicacy — garlic scapes are incredible grilled, in pesto, or stir-fried. Removing scapes typically increases bulb size 20–30%, so don’t skip this delicious chore.
Step 6: Harvest, cure, and store
Harvest timing makes or breaks storage: dig (don’t pull) when the bottom 2–3 leaves have browned but 5–6 green leaves remain. Too early and bulbs are small; too late and the wrappers disintegrate, ruining storage life. Loosen with a fork, lift gently, and brush off soil — don’t wash. Then cure: hang bulbs in bundles or lay on racks in a warm, dry, shaded, well-ventilated spot for 2–4 weeks until the necks are fully dry and papery.
After curing, trim roots and stalks, and store in a cool (60–65°F), dry, dark place with air circulation — a mesh bag in a pantry is perfect. Never refrigerate (cold triggers sprouting) and never store in plastic (traps moisture). Properly cured softneck garlic keeps 8–12 months; hardneck 4–6. For keeping your harvest fresh as long as possible, the principles overlap with storing fresh herbs so they last longer — cool, dry, and ventilated wins every time. The EPA’s composting resources can help you recycle the stalks and trimmings back into next year’s bed.
Troubleshooting common garlic problems
Small bulbs usually mean planting too late, harvesting scapes too late (or not at all), or nutrient-poor soil — fix timing and fertility first. Rotting cloves point to waterlogged soil or planting diseased stock. If shoots emerge in fall and get frost-nipped, don’t panic — mulch protects the growing point and spring regrowth is normal. Pests are refreshingly rare; garlic’s sulfur compounds repel most insects, which is one reason it’s such a great beginner crop.
Conclusion
Growing garlic at home step by step is: buy seed garlic in late summer, plant cloves pointed-up in fall 2 inches deep, mulch heavily, water and weed lightly in spring, snap the scapes, harvest when lower leaves brown, cure for a month, and store cool and dry. That’s the entire process — one planting day, a handful of spring chores, and months of harvest. Few crops reward beginners so generously. Plant this fall, and next summer you’ll wonder why you ever bought the sad, sprouting bulbs from the grocery store.
Frequently Asked Questions
Can I plant garlic from the grocery store?
It’s not recommended — grocery garlic is often treated with sprout inhibitors, may carry disease, and is usually a variety unsuited to your climate. Seed garlic from garden suppliers costs little and performs far better.
When do I plant garlic?
In fall, 2–4 weeks after your first frost date but before the ground freezes — typically October to November in northern zones. Fall planting with winter cold is essential for proper bulb formation.
How long does garlic take to grow?
About 8–9 months from fall planting to summer harvest. The plant does most of its work underground over winter and bulks up rapidly in late spring.
Why are my garlic bulbs so small?
Usually late planting, missed scape removal, poor soil fertility, or harvesting too early/late. Plant on time, feed the soil, snap scapes promptly, and harvest when 2–3 lower leaves have browned.