
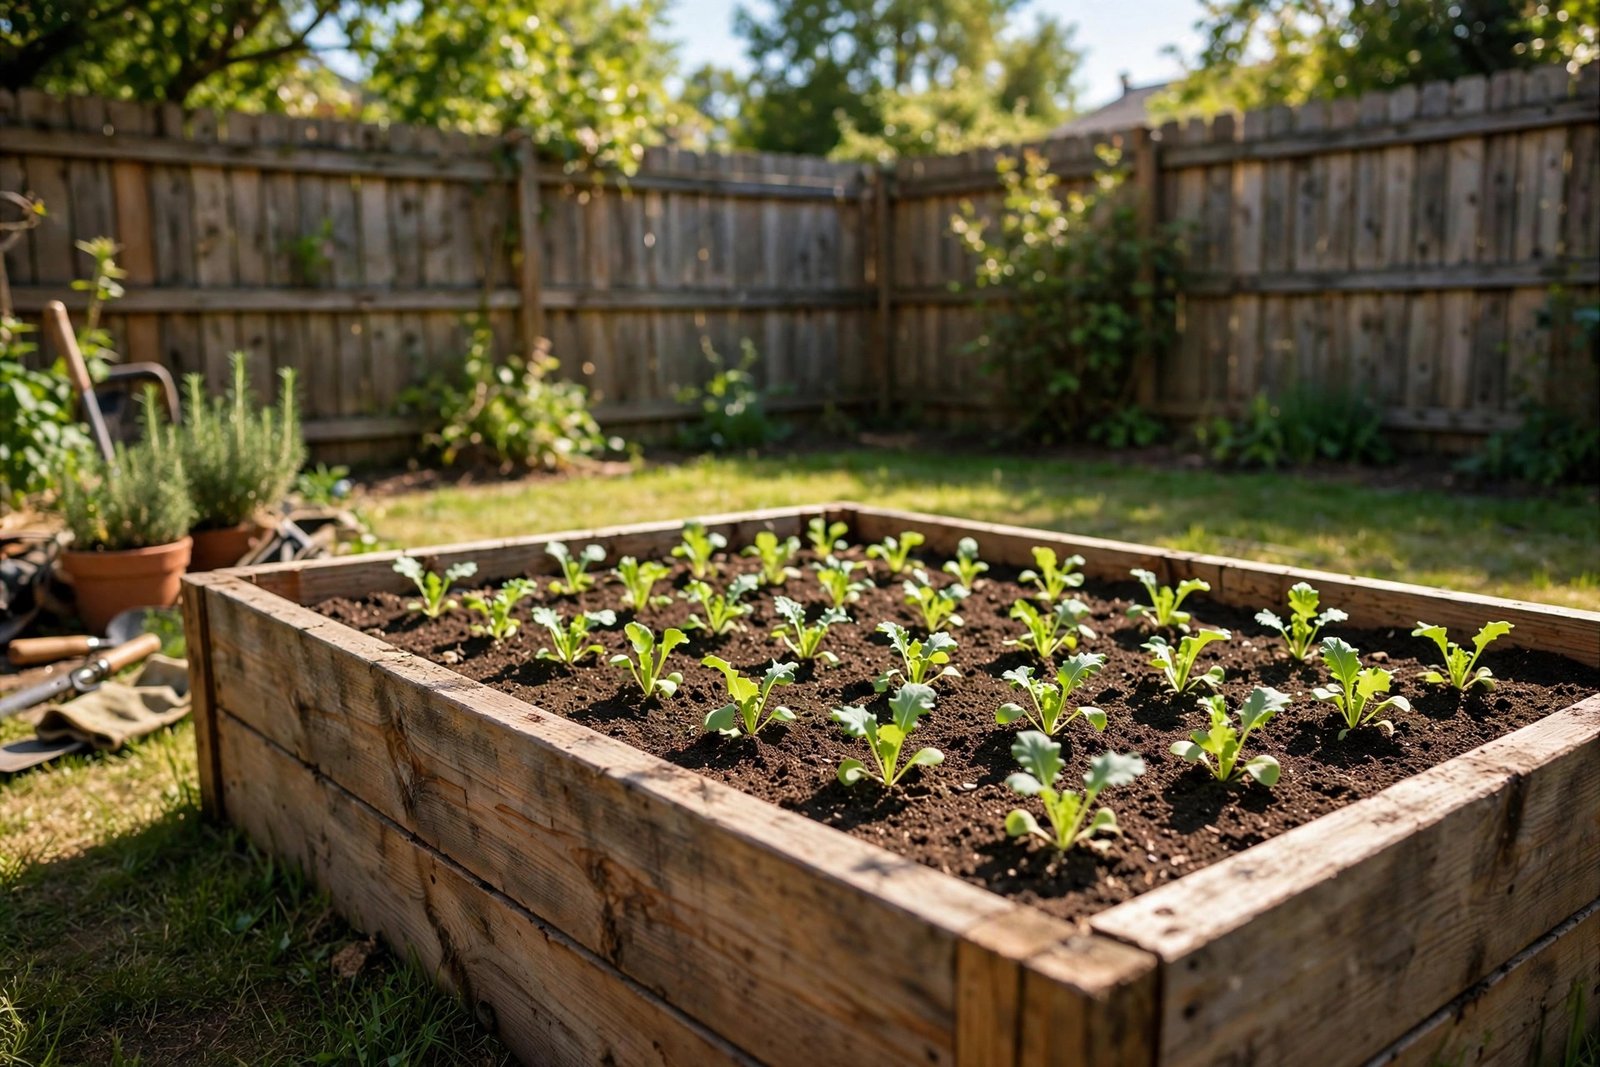
There’s something deeply satisfying about eating a tomato you grew yourself. And raised beds are the easiest way to start: better soil than what you’ve got, fewer weeds, easier on your back, and a defined project you can finish in a Saturday. So how do I build a simple raised garden bed? Four boards, some screws, soil, and about four hours. Here’s the complete guide — no carpentry experience needed.
What You’ll Need
- Lumber: two 2×8×8 boards and two 2×8×4 boards (or one 2×12×12 cut down — most lumber yards cut for free). Cedar or redwood lasts 10–15 years naturally; pressure-treated (modern ACQ, safe for gardens) lasts 15–20 and costs less. Avoid old CCA-treated lumber (pre-2004).
- Screws: 3″ exterior deck screws (not nails — screws hold better as wood moves).
- Tools: drill/driver, tape measure, saw (or have the yard cut), level, staple gun (optional).
- Optional: landscape fabric for the bottom (weed barrier), 1/2″ hardware cloth if burrowing pests are an issue.
- Soil: for a 4×8×1 ft bed, you need ~32 cubic feet (about 1.2 cubic yards). The classic mix: 60% topsoil, 30% compost, 10% aeration (perlite or coarse sand). Or buy bagged raised-bed mix — pricier but foolproof.
Total cost: $75–$200 depending on lumber choice and soil source. Bulk soil delivery is far cheaper than bags for a full bed.
How Do I Build a Simple Raised Garden Bed? Step by Step
1. Pick the location
Most vegetables need 6–8 hours of direct sun. Watch your yard for a day — note what gets full sun. Level ground matters more than perfect sun; you can shim slightly, but a big slope needs terracing. Keep it near a water source — you’ll thank yourself every July. And check: no buried utilities (call 811 before digging anything, even shallow).
2. Prep the ground
Mow grass short or remove sod in the footprint. Lay landscape fabric or cardboard (lasagna method — the cardboard smothers grass and decomposes) to suppress weeds from below. If voles or gophers are a problem, staple 1/2″ hardware cloth across the bottom before setting the frame.
3. Build the frame
Arrange the boards in a rectangle on level ground: the 8-footers on the long sides, 4-footers on the ends. Check for square by measuring diagonals (equal = square). Pre-drill pilot holes (prevents splitting), then drive two 3″ deck screws per corner joint. For beds over 8 feet long, add a center cross-brace to prevent bowing. Set the frame in place and check level — shim with flat stones or wood scraps where needed.
4. Fill with soil
The fun part. Layer in your mix, watering every 6 inches to settle it (dry-filled beds sink dramatically after the first rain). Fill to 1–2 inches below the rim — you’ll want that lip to hold mulch and water. A 4×8 bed takes roughly a cubic yard plus; don’t underestimate. Many hands make this fast — bribe friends with future tomatoes.
5. Mulch and plant
Top with 2–3 inches of straw or wood chip mulch (keeps moisture in, weeds out). Then plant! For a first bed, the Old Farmer’s Almanac planting calendar tells you exactly when to plant what in your zip code.
What to Plant First (Beginner Wins)
- Can’t-miss: tomatoes (cherry types are most forgiving), zucchini, cucumbers, lettuce/greens, radishes, herbs (basil, parsley, chives).
- Skip year one: corn (needs space and pollination partners), melons (space hogs), asparagus (3-year wait), fussy heirlooms.
- The 4×8 layout: tall things (tomatoes on cages/trellis) on the north side so they don’t shade the rest; greens and herbs in front; one zucchini plant (just one — trust me).
Sizing and Variations
- 4 feet wide max — so you can reach the center from either side without stepping in (never compact the soil).
- 8–12 feet long is efficient; longer beds need cross-bracing.
- 10–12 inches deep suits most vegetables; 18–24″ for root crops like carrots.
- Waist-high beds (on legs or stacked) are wonderful for bad backs — more lumber, same principle.
- Multiple beds: leave 2–3 feet between beds for wheelbarrow and kneeling access.
Maintenance Basics
Water deeply 2–3 times a week rather than daily sprinkles (encourages deep roots). Mulch is your weed control. Top-dress with an inch of compost each spring — raised beds lose nutrients faster than in-ground gardens. Rotate crops yearly (don’t plant tomatoes in the same spot two years running). And start small: one bed done well beats three beds done poorly. You can always build more next spring — and if indoor growing is more your speed, beginner indoor plants scratch the same itch year-round.
From Garden to Table: Using Your Harvest
The best part of a raised bed isn’t building it — it’s the weeks of eating from it. Getting the most from your harvest:
- Harvest in the morning. Vegetables are crispest and sweetest early, before heat stresses them. Keep a bowl by the door and make it a ritual.
- Succession planting. When spring lettuce bolts, replace it with summer beans; when beans finish, plant fall greens. One bed, three seasons — the bed should never sit empty from April to October.
- Preserve the glut. Zucchini season will bury you — freeze shredded zucchini for baking, blanch and freeze green beans, make sauce from the tomato avalanche and freeze it flat in bags. A $30 chest-freezer investment (used) pays for itself in one season.
- Cook simply. Homegrown produce needs less help — the flavor is already there. Big salads, simple sautés, grilled vegetables with salt and olive oil. Let the garden be the star.
- Plan meals around the garden. Check the bed before meal planning, not after. This is where weekly meal prep gets genuinely exciting — Sunday’s harvest becomes the week’s lunches, and nothing tastes better than food you grew yourself.
Share the surplus. Gardeners always grow too much of something — that’s the rule. Neighbors, coworkers, the food bank (many accept fresh produce): sharing the glut builds community and ensures nothing rots on the vine. And keep notes: what thrived, what failed, what you’d plant differently. Next year’s garden starts with this year’s lessons — and it slots beautifully into a broader low-maintenance landscape that mostly takes care of itself while the raised bed does the delicious work.
The Practical Takeaway
Building a simple raised garden bed takes four boards, deck screws, a drill, and a Saturday: pick a sunny level spot, smother the grass beneath, screw the frame square, fill with a topsoil-compost mix (watering as you go), mulch, and plant beginner-friendly crops. Keep beds 4 feet wide max, 10–12 inches deep, with paths between. Total investment: $75–$200 and one weekend. Payoff: fresh vegetables steps from your door and the deeply satisfying feeling of having built the thing they grow in.


