
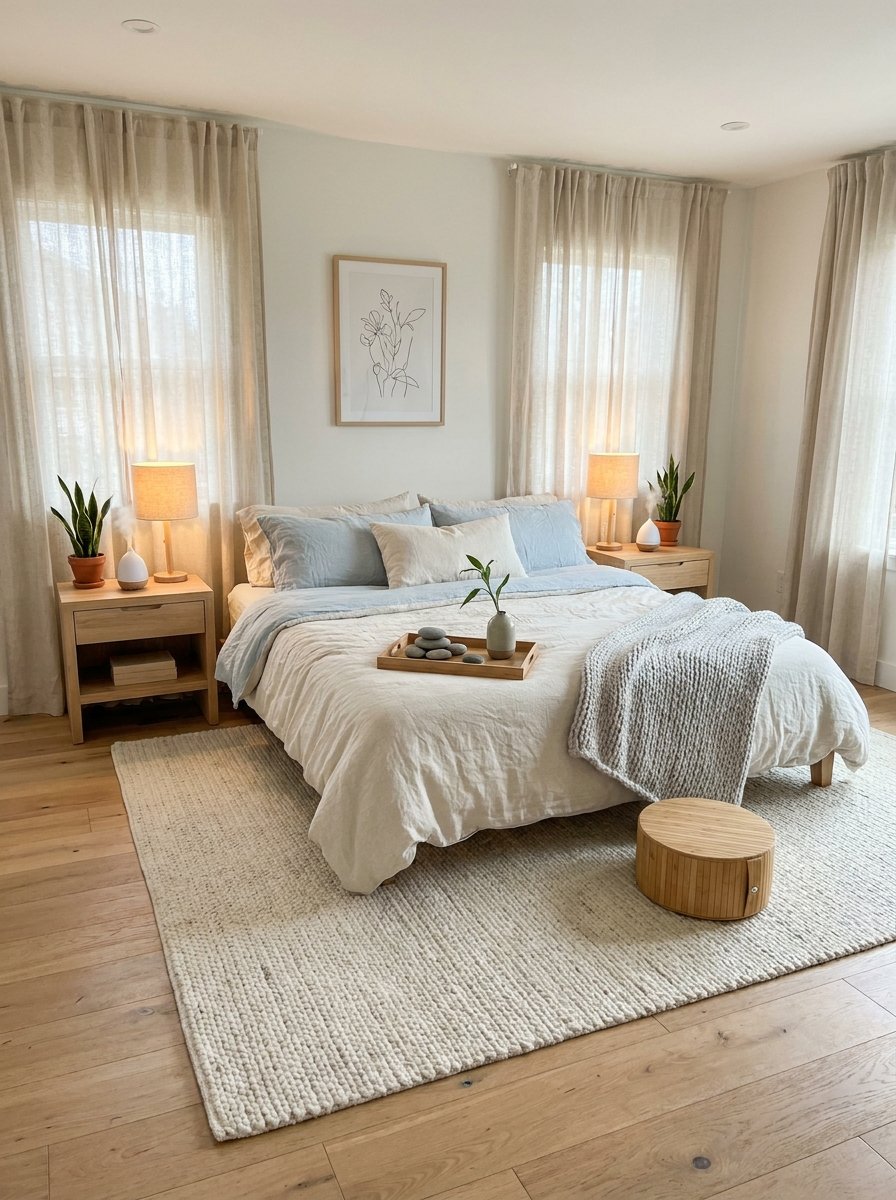
Thin walls, street noise, a snoring partner, the neighbor’s 6am blender — bedroom noise ruins sleep, and bad sleep ruins everything else. Professional soundproofing can cost thousands, but you don’t need a recording studio. So how can I soundproof a bedroom affordably? These 7 fixes are ranked by cost and impact, starting with the free stuff. Realistic expectation first: you’re reducing noise significantly, not achieving silence. A 50–70% reduction is a totally achievable win.
Understand What You’re Fighting
Two types of noise need different tactics: airborne noise (voices, TV, traffic, music traveling through air) and impact noise (footsteps, doors slamming — vibration through structure). Most bedroom complaints are airborne, which is the easier problem. Impact noise from above is genuinely hard to fix cheaply — be realistic about that one.
1. Seal the Gaps (Free–$30) — The Highest ROI
Sound is lazy — it takes the easiest path, which is always gaps, not walls. A 1% gap in a wall’s surface can transmit 50%+ of the sound. Attack these first:
- Door gaps. The #1 culprit in bedrooms. Install adhesive door weatherstripping around the frame and a door sweep or draft stopper on the bottom gap. A hollow-core interior door with a 1-inch undercut leaks enormous sound — sealing it is transformative.
- Outlets and switches on shared walls: add foam gaskets behind cover plates ($5 for a pack).
- Window gaps: caulk exterior gaps, add interior weatherstripping. See how to seal drafty windows — the same fixes block sound and cold.
- Any pipe or cable penetrations: seal with acoustic caulk.
Do this before spending a dollar on anything else. Many people stop here because it’s enough.
How Can I Soundproof a Bedroom Affordably? 6 More Fixes
2. Heavy curtains ($50–$150)
Mass blocks sound. Thick, floor-to-ceiling curtains (velvet, or dedicated acoustic curtains) over windows absorb and block a meaningful amount of noise — especially high-frequency street sounds. Mount them wider and higher than the window, and let them puddle slightly on the floor. Bonus: they also darken the room for better sleep.
3. Bookshelves against the noisy wall ($0–$100)
A fully loaded bookshelf is a mass-loaded barrier — books are dense. Push one against the wall shared with the noisy neighbor or hallway. It’s the oldest apartment-dweller trick because it genuinely works. Fill every shelf; air gaps defeat the purpose.
4. Rugs and soft furnishings ($30–$200)
Hard floors reflect sound; soft surfaces absorb it. A thick rug with a dense pad cuts echo and footstep noise dramatically — important if your own noise bothers others, and it reduces the room’s overall reverberation. Upholstered headboard, throw pillows, wall tapestries — every soft surface helps. This won’t block the neighbor’s TV, but it calms the room’s acoustics noticeably.
5. White/brown noise machine ($20–$50)
Not soundproofing exactly — sound masking. A consistent background sound raises the noise floor so intermittent sounds (traffic bursts, voices, snoring) stop jolting you awake. Brown noise (deeper than white) works best for sleep for most people. A $30 machine or a free phone app; place it between you and the noise source. Combined with good sleep habits, this solves the problem for a huge percentage of people.
6. Upgrade the door ($100–$300)
If sealing isn’t enough, the hollow-core door itself is the weak link. A solid-core door (or even adding mass-loaded vinyl to the existing door) blocks dramatically more sound. It’s a bigger project — new door slab, possibly new hinges — but it’s the single most effective bedroom soundproofing upgrade per dollar after sealing.
7. Acoustic panels or moving blankets ($50–$200)
For echo and mid-frequency absorption: acoustic foam panels help somewhat, but dense moving blankets hung on the noisy wall work surprisingly well for the money and look intentionally industrial if that’s your style. Focus on the wall facing the noise source and the wall behind your bed (first reflection point).
What Doesn’t Work (Save Your Money)
- Egg cartons and thin foam. The internet’s favorite myth. They do essentially nothing for sound blocking.
- “Soundproof” paint. Marginal at best — a coat of paint can’t add meaningful mass.
- Expensive acoustic foam for blocking. Foam absorbs echo inside a room; it barely blocks sound entering. Different problem, different solution.
The Nuclear Options (When Budget Allows Later)
If affordable fixes aren’t enough: adding a second layer of drywall with Green Glue damping compound ($500–$1,000 per wall, DIY-able) is the proven serious upgrade. Blown-in cellulose or mineral wool insulation in the wall cavity helps too. Decoupling (resilient channel, staggered studs) is the pro standard but means rebuilding the wall — that’s renovation territory, not a weekend project. Bob Vila’s guides cover the Green Glue method well if you go this route.
Soundproofing for Renters: What You Can Actually Do
Renters face the worst noise with the fewest options — no opening walls, no replacing doors. But plenty of effective fixes are fully reversible:
- Everything in this article’s first five fixes — door seals, heavy curtains, bookshelves, rugs, white noise — is renter-friendly. Start there; they solve most cases.
- Removable door solutions. A draft stopper (the fabric tube kind, no adhesive) plus temporary weatherstripping that peels off cleanly. For extreme cases, a moving blanket hung over the door on removable hooks — ugly, effective, gone in 60 seconds at move-out.
- Talk to the neighbor. Seriously. Most noise conflicts resolve with a polite conversation — they often have no idea their subwoofer transmits. “Hey, I can hear your TV late at night — any chance you could turn the bass down after 10?” works far more often than you’d expect. Bring cookies, not complaints.
- Document for the landlord. If noise violates local ordinances or lease quiet-hours, document dates/times and notify the landlord in writing. Landlords have obligations; a paper trail activates them.
- Strategic furniture. Bed against the quietest wall (not the shared one). Desk away from the noisy neighbor. Room layout is free soundproofing.
- Know when to move. If the building has paper-thin walls and a drummer upstairs, no amount of weatherstripping fixes it. When apartment hunting next time: visit at night, ask about noise, knock on walls (hollow = loud), and choose top-floor corner units — no upstairs neighbors, one shared wall.
The renter’s hierarchy: seal gaps (cheapest, most effective), add mass you own (curtains, rugs, bookshelves — they move with you), mask the rest (noise machine), and communicate (free, underrated). Total investment under $200, all of it portable to the next place. And when you eventually buy, you’ll know exactly what to look for — and what to fix — because renting taught you what noise costs.
The Practical Takeaway
Soundproofing a bedroom affordably means: seal every gap first (door weatherstripping + sweep is the #1 fix), add mass where it counts (heavy curtains, loaded bookshelf), soften the room (thick rug), and mask what remains (brown noise machine). That combination — under $300 total — solves most bedroom noise problems. Skip the egg cartons and miracle paints. And remember the goal isn’t silence; it’s sleep. If you can no longer hear the specific sounds that wake you, you’ve won.


