
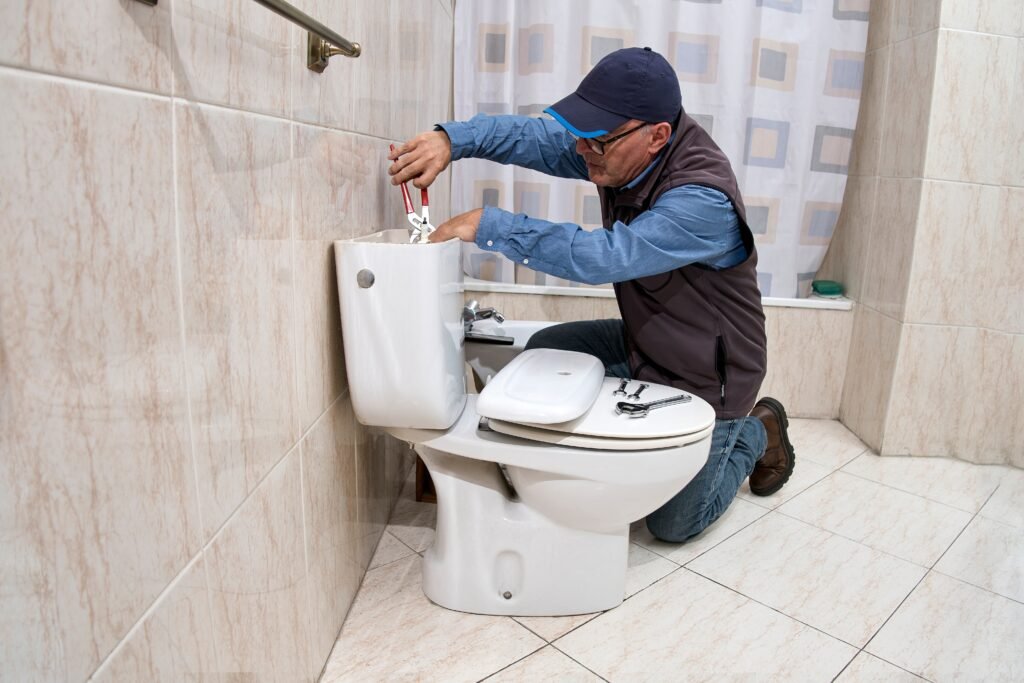
That faint hissing from the bathroom. The toilet that refills every twenty minutes for no reason. A running toilet wastes up to 200 gallons a day — and it’s usually a $10 part and ten minutes of your time. So how do I fix a running toilet myself? In 90% of cases, it’s the flapper. Here’s how to diagnose it in two minutes and fix it for good.
The 2-Minute Diagnosis
Take the tank lid off (carefully — it’s heavy porcelain) and look inside. The usual suspects:
- Water running into the overflow tube: the water level is too high — a fill valve/float adjustment issue.
- Water level fine, but the bowl periodically refills: the flapper is leaking — water seeps from tank to bowl, the tank refills to compensate. The classic “phantom flush.”
- Constant running with jiggling handle needed to stop: the flapper or the chain/flush lever connection.
The food coloring test: put a few drops of food coloring in the tank, wait 15 minutes without flushing. Color in the bowl = the flapper leaks. No color but water still runs = the fill valve. This test takes the guesswork out completely.
How Do I Fix a Running Toilet Myself? The Fixes
Fix 1: Replace the flapper (fixes ~80% of running toilets)
- Turn off the water supply valve behind the toilet (clockwise).
- Flush to empty the tank.
- Unhook the old flapper from the flush valve pegs and disconnect the chain.
- Take it to the store to match size and type (2″ vs 3″ — measure the flush valve opening).
- Install the new flapper, reconnect the chain with ~1/2″ of slack (too tight prevents sealing; too loose tangles).
- Turn water back on, let the tank fill, and test. Total cost: $5–$12. Total time: 10 minutes.
Fix 2: Adjust the fill valve and float
If water runs into the overflow tube: the tank water level is too high. For float-ball arms, bend the arm down slightly. For float-cup valves (the common modern type), squeeze the adjustment clip and slide the float down so water stops ~1 inch below the overflow tube’s top. If the fill valve is old, crusty, or won’t adjust, replace it — a universal fill valve kit ($10–$15) installs in 15 minutes with no special tools.
Fix 3: Fix the chain and flush lever
A chain that’s too short holds the flapper open; too long and it gets caught underneath. Adjust to about half an inch of slack. If the flush handle is corroded or loose, replace the lever assembly ($8–$12) — it unscrews from inside the tank.
Fix 4: Clean the flush valve seat
Sometimes the flapper is fine but the seat it seals against is crusty with mineral buildup. Drain the tank, wipe the seat with a cloth, and gently clean deposits with fine steel wool or vinegar. A smooth seat + new flapper = perfect seal.
What You’ll Need
Almost nothing: a replacement flapper ($5–$12), possibly a universal fill valve ($10–$15), food coloring for diagnosis, and a sponge/towel for the inevitable small spill. No wrenches required for most fixes — toilet tank internals are designed for hand work. This Old House has a great visual guide if you want to see the parts before opening your tank.
When It’s Not a DIY Fix
- Cracked tank or bowl. Porcelain cracks don’t repair reliably — replacement time.
- Water on the floor around the base. That’s a wax ring or supply line issue, not a running-toilet issue. Different repair.
- Corroded shutoff valve that won’t turn. Forcing it can break the pipe. If the valve is frozen, that’s a plumber call before you touch anything else.
- You’ve replaced everything and it still runs. Rare, but hairline cracks in the overflow tube or flush valve assembly happen — a pro spots these fast.
Preventing the Next One
- Don’t use drop-in tank bleach tablets. They degrade flappers and fill valves rapidly — the #1 cause of premature flapper failure. Use in-bowl cleaners instead.
- Replace the flapper every 3–5 years proactively. It’s a wear item; waiting for failure wastes water for weeks before you notice.
- Know your water. Hard water and high chlorine both shorten rubber part life. If flappers keep failing yearly, your water chemistry is the culprit.
Toilet Upgrades Worth Considering
While you’re in fix-it mode, a few upgrades punch above their weight:
- Replace the supply line. If yours is a rigid chrome pipe or an old braided line, swap in a new braided stainless steel supply line ($8–$12) while you’re working in the tank area. Burst supply lines are a top cause of catastrophic bathroom flooding — the $10 prevention is absurdly cheap insurance.
- Upgrade the flapper to adjustable. Adjustable flappers let you dial flush volume — less water for liquid waste, full power when needed. Saves thousands of gallons yearly for a few dollars more than a standard flapper.
- Add a bidet attachment ($30–$60). Installs in 15 minutes on your existing toilet (T-valve at the supply line, mount under the seat). Life-changing comfort, dramatically less toilet paper, and guests always ask about it. The most satisfying $40 in home improvement.
- Slow-close seat ($25–$40). Ends midnight seat-slamming forever. Five-minute install, universal fit. Small luxury, daily payoff.
- When to replace the whole toilet: if it’s a pre-1994 water hog (3.5+ gallons per flush vs. modern 1.28), chronically clogging, or cracked. Modern toilets ($150–$300) pay back in water savings and actually flush better — old low-flow models gave the category a bad name, but current designs work excellently. Look for MaP-tested 1,000g+ ratings.
The 10-year toilet refresh: flapper, fill valve, supply line, and seat bolts — the “soft parts” — every decade, proactively. It’s a $40 kit and an hour, and it prevents the 2am running-toilet discovery and the slow supply-line leak that rots the floor. Toilets are simple machines; treating their wear parts as scheduled maintenance (like the faucet washers you already know about) means they never surprise you. Keep the essential spares with your basic toolkit and the next fix takes minutes, not a hardware store run.
The Practical Takeaway
Fixing a running toilet yourself is a 10-minute, $10 job in most cases: diagnose with the food coloring test, replace the flapper (the culprit 80% of the time), adjust the fill valve if the water level’s too high, and set the chain with half an inch of slack. Skip the bleach tablets going forward and replace the flapper every few years preventively. You’ll stop wasting hundreds of gallons a day — and that phantom hissing will finally be gone. While you’re in DIY plumbing mode, fixing a leaky faucet uses the same beginner-friendly skill set.


