
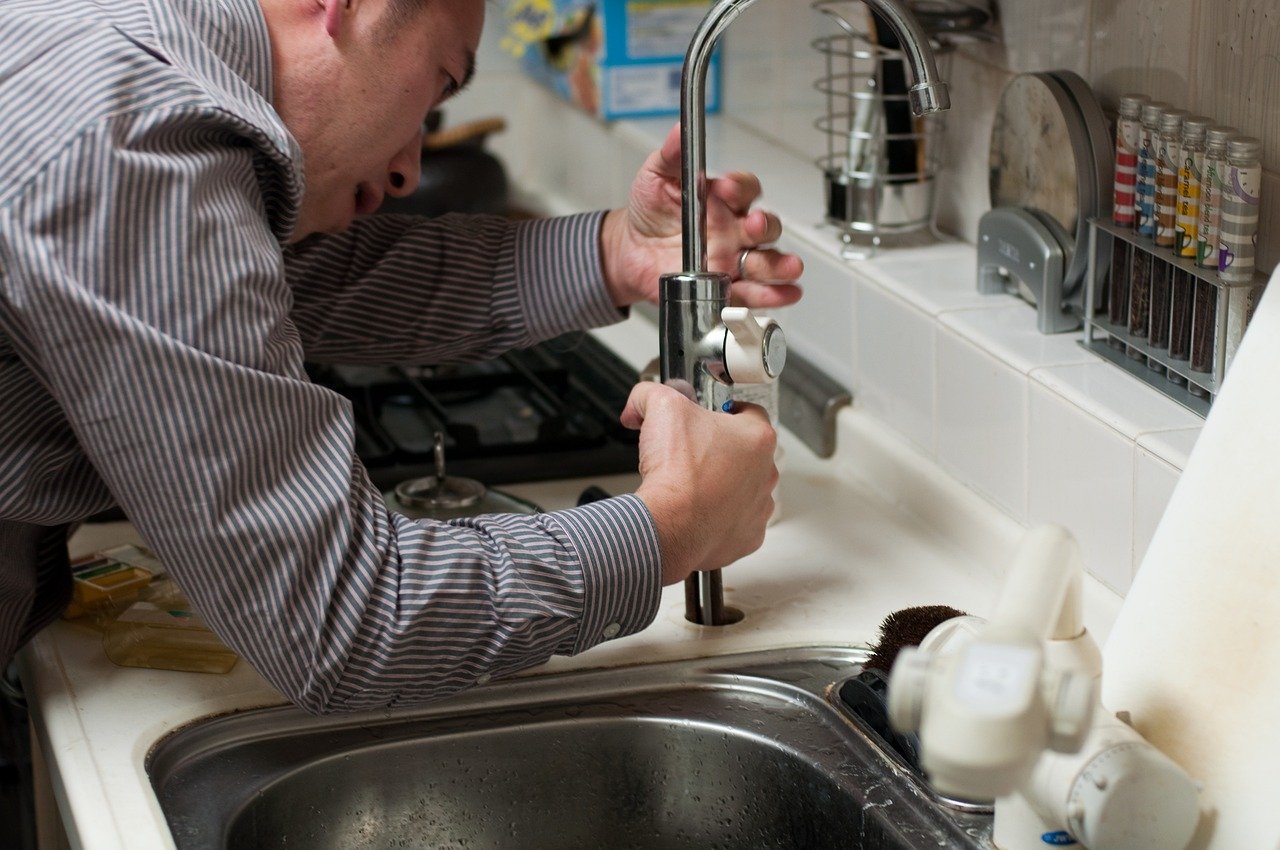
Drip. Drip. Drip. A leaky faucet is the most annoying small problem in a house — it wastes water (a drip per second wastes 3,000+ gallons a year, per the EPA), it stains your sink, and it slowly drives you insane. The good news: most faucet leaks are a 30-minute fix with basic tools. So how can I fix a leaky faucet without calling a plumber? Here’s the complete walkthrough, no experience required.
First: Figure Out What Kind of Faucet You Have
There are four types, and the repair differs slightly. Look at yours:
- Compression (two handles, separate hot/cold). The oldest style. Leaks are almost always worn rubber washers or O-rings. Cheapest and easiest to fix.
- Ball (single handle, common in kitchens). Has a rotating ball mechanism. Repair kits with replacement springs, seats, and O-rings cost under $20.
- Cartridge (single or double handle). A cartridge controls flow. When it wears out, you replace the whole cartridge — simple once you identify the right one.
- Ceramic disc (single lever, smooth operation). The most durable type. Leaks usually mean worn seals or a cracked disc; seal kits are cheap, discs cost more.
Not sure? Take a photo and show it at the hardware store — or check the manufacturer’s site. Knowing your faucet’s brand and model makes buying the right parts ten times easier. Family Handyman has excellent photo guides for identifying faucet types if you’re stuck.
How Can I Fix a Leaky Faucet Without Calling a Plumber? Step by Step
What you’ll need
- Adjustable wrench and/or basin wrench
- Phillips and flathead screwdrivers
- Replacement parts (washer/O-ring kit, cartridge, or repair kit — $5–$20)
- Plumber’s grease (silicone-based)
- White vinegar and an old toothbrush (for mineral buildup)
- Towels and a small bucket
- Your phone (for photos of each disassembly step!)
The repair
1. Turn off the water. Look under the sink for the shutoff valves (usually two, hot and cold) and turn them clockwise. No valves? Turn off the main water supply. Then turn the faucet on to drain remaining water and release pressure. Plug the drain with a towel — tiny screws love to escape down drains.
2. Disassemble the faucet. Pop off the decorative cap on the handle (flathead screwdriver), remove the handle screw, and lift off the handle. You’ll see the valve mechanism — unscrew the packing nut with your wrench. Photograph every step. When you’re staring at six parts wondering about the order, those photos are priceless.
3. Identify the culprit. For compression faucets: the rubber washer at the bottom of the valve stem is usually flattened or torn — that’s your leak. For cartridge faucets: pull the cartridge (note its orientation!) and inspect for cracks or worn O-rings. For ball faucets: check the springs, rubber seats, and O-rings. Mineral buildup (white crusty stuff) on any of these parts can also prevent a proper seal — soak parts in vinegar for 30 minutes.
4. Replace the worn parts. Take the old parts to the hardware store to match them exactly — washers and O-rings come in maddeningly similar sizes, and “close enough” leaks. Apply a thin coat of plumber’s grease to new O-rings before installing; it extends their life significantly.
5. Reassemble in reverse order. Follow your photos backwards. Don’t overtighten — snug is enough, especially on plastic parts. Overtightening cracks things and causes leaks.
6. Turn the water back on slowly. Open the shutoff valves gradually, then test the faucet. Check under the sink for drips at the connections. Run both hot and cold. No drip? You just saved $150–$300.
When to Actually Call a Plumber
DIY has limits. Call a pro if: the shutoff valves are frozen or broken (forcing them can flood your cabinet), the faucet body itself is cracked or corroded, you discover leaking supply lines or water damage under the sink, or the faucet is so old that parts are unavailable. Also, if you’ve replaced the obvious parts and it still drips, the valve seat may need regrinding — a $10 tool, but easy to botch. There’s no shame in calling for backup; a pro faucet repair runs $150–$300, which beats a flooded kitchen.
And while you’re under the sink, take a look around — slow drains and supply-line wear are worth catching early. A quick scan during any under-sink project is free preventive maintenance.
Preventing the Next Leak
- Don’t crank handles. The #1 cause of washer wear is overtightening. Turn until the water stops, then stop.
- Fix drips promptly. A small drip wears the washer groove deeper, turning a $5 fix into a valve-seat problem.
- Know your water. Hard water destroys faucet internals faster. If you have hard water, consider a softener — it extends the life of every fixture in the house.
- Exercise shutoff valves yearly. Turn them off and on once a year so they don’t seize. Future-you will be grateful.
Repair or Replace? When a New Faucet Makes More Sense
Sometimes the wise move isn’t repairing — it’s replacing. Here’s how to tell:
- Replace when: the faucet is 15+ years old and parts are discontinued, the finish is corroded or peeling (no repair fixes aesthetics), you’ve repaired it twice and it leaks again (the valve body itself is worn), or water efficiency matters to you (new faucets use 1.5 gpm or less vs. 2.5+ for old ones — meaningful water savings).
- Repair when: the faucet is under 10 years old, the finish is fine, parts are available, and it’s a single-issue leak. A $12 cartridge beats a $200 faucet every time.
- The middle ground: if you’re replacing for looks anyway, it’s a 30-minute job — shut off water, disconnect supply lines, unscrew mounting nuts, lift out, reverse with the new one. Plumber’s putty or silicone under the base, hand-tighten plus a quarter turn. The hardest part is the yoga position under the sink.
Choosing a replacement: solid brass bodies outlast zinc alloy; ceramic disc cartridges outlast compression washers (this is why cheap faucets drip sooner); single-handle is simpler to repair than widespread double-handle; and finishes — chrome is the most durable and easiest to match, matte black shows water spots, brushed nickel hides them. Read the warranty: lifetime finish warranties from major brands (Moen, Delta, Kohler) are actually honored and a good proxy for quality.
Whether you repair or replace, the skills transfer directly — and they’re the same beginner-friendly plumbing fundamentals behind fixing a running toilet. Most homeowners who conquer the faucet find the toilet refreshingly simple by comparison. And if you’re building out your capabilities, a proper basic homeowner toolkit — with the basin wrench that makes under-sink work actually possible — is the foundation everything else builds on.
The Practical Takeaway
Fixing a leaky faucet without a plumber is genuinely one of the best beginner DIY wins: $5–$20 in parts, 30 minutes of work, and you stop wasting thousands of gallons a year. The keys are identifying your faucet type, photographing disassembly, matching parts exactly at the store, and not overtightening on reassembly. If the valve seat’s damaged or the plumbing around it is suspect, call a pro — but for the classic worn-washer drip, you’ve got this. Your water bill (and your sanity) will thank you.


