
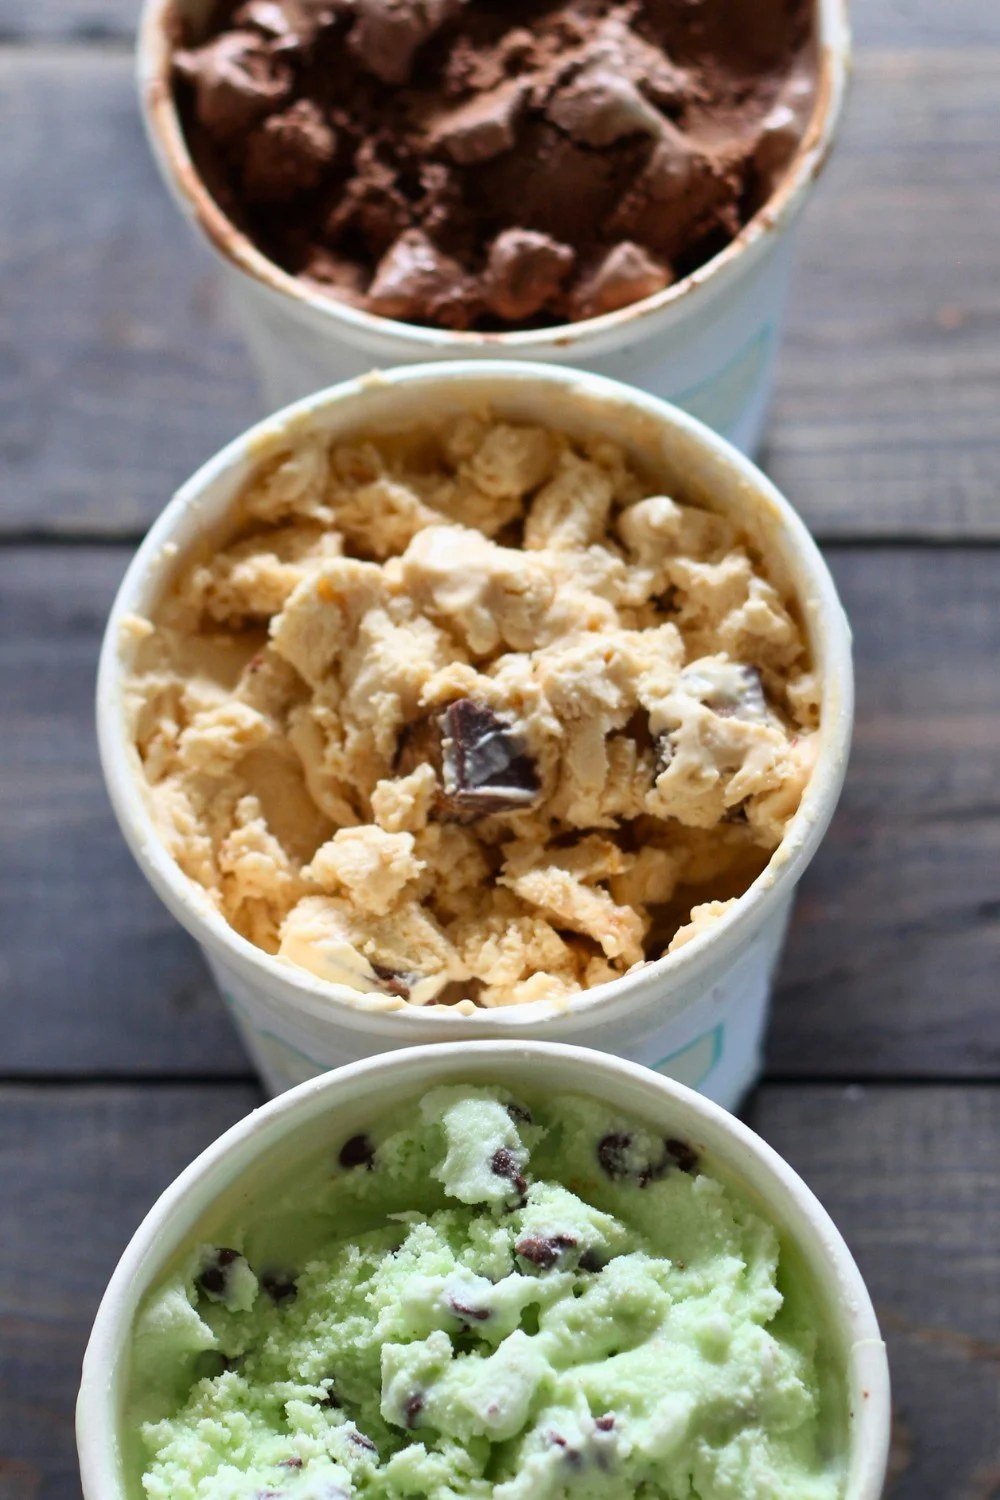
An ice cream maker is one of those gadgets that seems essential until you realize there’s a perfectly good way around it. Learning how to make homemade ice cream without a machine opens up a world of creamy, dense, ridiculously good frozen desserts — and the no-churn method I’m about to show you is so easy it feels like cheating. Two ingredients, one bowl, zero special equipment.
Quick context on why machines exist at all: churning does two things — it incorporates air (for lightness) and it breaks up ice crystals as they form (for smoothness). No-churn methods achieve the same results through different means: whipped cream provides the air, and condensed milk’s sugar content keeps ice crystals tiny. The result is denser and richer than churned ice cream — closer to gelato, honestly — and most people prefer it.
How to Make Homemade Ice Cream Without a Machine: The Base Recipe
This is the only recipe you need to memorize. Everything else is a variation.
- 2 cups heavy whipping cream, very cold
- 1 can (14 oz) sweetened condensed milk, chilled
- 1 teaspoon vanilla extract
- Pinch of salt
Whip the cold cream to stiff peaks — this is where the air comes from, so don’t under-whip. In a separate bowl, stir the condensed milk with vanilla and salt. Fold the whipped cream into the condensed milk gently, in two additions, keeping as much air as possible. Pour into a loaf pan or freezer-safe container, press plastic wrap directly on the surface (prevents ice crystals), and freeze at least 6 hours or overnight.
That’s it. That’s the whole recipe. It makes about 1½ quarts of ice cream that will make you question every $7 pint you’ve ever bought.
Flavor Variations (The Fun Part)
The base is a blank canvas. Fold in mix-ins after combining the cream and condensed milk:
- Cookies and cream: 15 crushed chocolate sandwich cookies
- Mint chocolate chip: 1 tsp peppermint extract + 1 cup mini chocolate chips + a drop of green food coloring if you’re feeling nostalgic
- Strawberry: 1 cup macerated strawberries (tossed with 2 tbsp sugar, rested 30 min), lightly mashed
- Salted caramel: Swirl in ½ cup caramel sauce + flaky sea salt
- Coffee: 2 tbsp instant espresso dissolved in 1 tbsp hot water, cooled, mixed into the condensed milk
- Peanut butter: ½ cup creamy peanut butter whisked into the condensed milk + chocolate chips
- Lemon: Zest of 2 lemons + 3 tbsp juice in the condensed milk — bright and incredible
The Freeze-and-Stir Method (For a Lighter Texture)
If you want something closer to traditional churned ice cream — lighter, less dense — use the manual method. Make a standard custard base (or even just sweetened flavored milk/cream), pour it into a shallow metal pan, and freeze. Every 30–45 minutes, take it out and stir vigorously with a fork, breaking up the frozen edges into the center. Repeat 4–5 times over 3–4 hours. You’re doing by hand what the machine does mechanically: disrupting ice crystal formation. It’s more effort, but the texture is noticeably lighter and smoother.
Troubleshooting No-Churn Ice Cream
- Icy or hard: Usually under-whipped cream (not enough air) or a freezer running too cold. Let it sit on the counter 10 minutes before scooping — no-churn ice cream freezes harder than commercial stuff because it lacks stabilizers.
- Too sweet: The condensed milk is non-negotiable for texture, but you can balance it with salt, citrus zest, espresso, or dark chocolate — all of which cut sweetness perception.
- Mix-ins sank: Freeze the base for 1–2 hours until thickened, then stir in heavy mix-ins and continue freezing.
- Freezer burn: Press plastic wrap or parchment directly on the surface before lidding. Air is the enemy, same as with freezing any food safely.
Dairy-Free and Lighter Options
Coconut milk ice cream: Use chilled full-fat coconut milk (the cream scooped from the top of the can) whipped like dairy cream + condensed coconut milk. Rich, tropical, excellent. Banana “nice” cream: Frozen banana chunks blended until creamy — one ingredient, surprisingly ice-cream-like, great with a spoonful of peanut butter blended in. It’s not identical to real ice cream, but for a 5-minute frozen treat it’s remarkable.
Serving Ideas
Homemade ice cream improves everything around it. Serve it with soft, warm chocolate chip cookies for the ultimate ice cream sandwich. A scoop on top of a warm brownie or slice of pie is classic for a reason. Or go full sundae bar for a party — it’s cheaper than catering dessert and infinitely more fun, fitting right in with easy party spreads.
The Practical Takeaway
Homemade ice cream without a machine = whipped cream + condensed milk + flavor, frozen 6+ hours. The no-churn method gives you dense, gelato-like richness; the freeze-and-stir method gives lighter, traditional texture. Both beat store-bought on flavor, and the base recipe costs a few dollars.
Make a batch tonight. By tomorrow evening you’ll have ice cream that makes the premium pints look overpriced — because, honestly, they are.
Should You Eventually Buy a Machine? An Honest Comparison
No-churn ice cream is fantastic, but let’s be fair about what a machine offers. A compressor ice cream maker ($200+) or even a freezer-bowl model ($50–70) produces lighter, airier ice cream with smaller ice crystals — closer to premium store-bought texture. It also handles low-sugar and custard-based recipes that don’t work as no-churn. But: it requires pre-freezing the bowl (freezer-bowl models), 20–40 minutes of churning, and another few hours of hardening — plus storage space for a bulky appliance. My honest take: if you make ice cream monthly or less, no-churn wins on every axis — cost, effort, storage, and taste. If you’re making it weekly and craving that light, scoop-shop texture, a freezer-bowl model is a reasonable $60 investment. Either way, start with no-churn. It’ll tell you whether you’re actually an ice cream-making household before you buy the hardware.
Fair warning: once you’ve made no-churn ice cream, store-bought pints will taste oddly airy and overpriced by comparison. That’s normal — you’ve recalibrated your palate to the real thing. Keep the base recipe taped inside a cabinet door, keep sweetened condensed milk in the pantry, and you’ll never be more than a day away from homemade ice cream again. Some skills pay off forever; this is one of them.
Ice cream’s texture comes down to fat, sugar, and ice crystal size — the Wikipedia article on ice cream explains the food science clearly if you want to geek out.


