
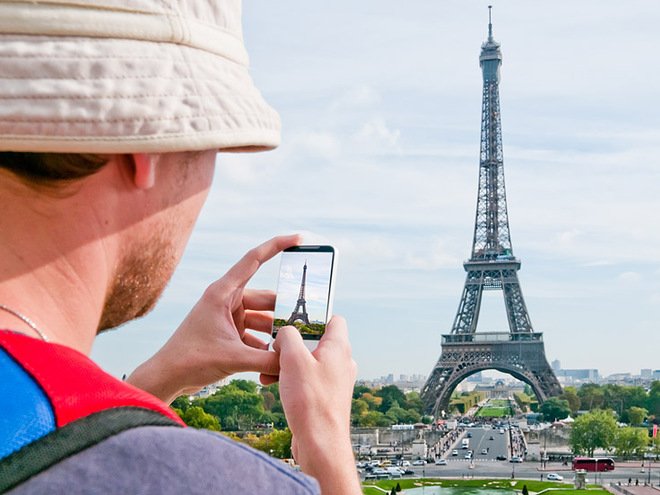
Some people come home from trips with photos that look like postcards. Others come home with 400 blurry shots of their thumb. The difference usually isn’t the phone — modern phones are genuinely excellent cameras. So how can I take better travel photos with my phone? It’s a mix of a few technical basics and, more importantly, learning to see like a photographer. I’ve taken tens of thousands of travel photos on phones over the years, and these are the lessons that actually moved the needle.
Learn the Three Settings That Matter
You don’t need to master manual mode, but three things are worth understanding:
- Exposure control. Tap the screen to focus, then slide your finger up or down to adjust brightness. Your phone’s auto-exposure gets fooled constantly — bright skies, dark interiors, backlit subjects. Taking two seconds to adjust exposure is the single biggest quality upgrade available.
- Night mode. Use it, but hold still — like, really still. Brace against a wall or railing. Night mode takes multiple exposures over a few seconds, and movement ruins it. This is how you get those gorgeous blue-hour city shots.
- Portrait mode (and its limits). Great for people with blurry backgrounds, but it struggles with complex edges (flyaway hair, fences). For landscapes and architecture, stick with the regular photo mode and the main (1x) lens — it’s always the best quality sensor on the phone.
Also: clean your lens. I’m serious. A quick wipe on your shirt before an important shot removes the haze that ruins otherwise great photos. And shoot in the highest resolution your phone offers — storage is cheap, regrets aren’t.
How Can I Take Better Travel Photos With My Phone? Master Light First
Photography is light, full stop. The same street looks boring at noon and magical at 6pm. Two windows of time do 80% of the work:
- Golden hour — the hour after sunrise and before sunset. Warm, soft, flattering light. Everything looks better. Plan your “hero” shots for these windows.
- Blue hour — the 20–30 minutes after sunset. The sky goes deep blue while city lights come on. This is when skylines, bridges, and old towns look their absolute best.
Midday sun is harsh and creates ugly shadows on faces. If you’re shooting people at noon, put the sun behind them and use exposure compensation to brighten their faces, or move into open shade. Overcast days, which photographers secretly love, give you soft even light all day — perfect for street scenes and portraits.
Composition: The Stuff That Separates Good From Great
- Rule of thirds. Turn on the grid in your camera settings. Put horizons on the upper or lower third line (not the middle), and place subjects at the intersections. It instantly makes photos feel more intentional.
- Foreground interest. A photo of a mountain is fine; a photo of a mountain framed through a doorway, or with flowers in the foreground, is a keeper. Always ask: what’s in my foreground?
- Leading lines. Roads, railings, shorelines, building edges — lines that pull the eye into the photo. Walk around until you find them.
- Get low or get close. Most people shoot everything from standing eye height. Crouch down, hold the phone near the ground, or step uncomfortably close to your subject. Different angles = different photos.
- Include people for scale. A cathedral is impressive; a cathedral with a tiny person in front of it is awe-inspiring. Ask a travel companion to stand in the frame.
The Travel-Specific Tricks
Shoot the details, not just the landmarks. Everyone photographs the Eiffel Tower. Fewer people photograph the café table, the street sign, the texture of the old door. Detail shots are what make your album feel like your trip rather than a stock photo collection — and they’re great for remembering souvenirs you considered and meals you loved.
Capture the in-between moments. The train window view, your feet on the beach, the market crowd. These “filler” shots become favorites years later because they trigger actual memories, not just “I was at a famous place.”
Take a breath before the famous view. At major viewpoints, everyone takes the same photo. Spend two minutes looking first — then find your own angle. Walk 50 feet left or right. The crowd clusters at the obvious spot; the better composition is usually nearby and empty.
Panoramas for wide scenes. Phone panoramas are excellent now. Move slowly and keep the arrow centered. Great for coastlines, skylines, and interiors like cathedrals.
Editing: Where Good Photos Become Great
Every professional photo you’ve ever admired was edited. Your phone’s built-in editor is enough:
- Straighten horizons (the #1 fix — crooked horizons ruin landscapes).
- Bump shadows up slightly and highlights down to recover detail.
- A touch of warmth or coolness to match the mood.
- Crop aggressively. Most photos improve when you cut 20% off.
Apps like Snapseed (free, excellent) or Lightroom Mobile give you more control. But restraint matters — the goal is “this looks like what I remember,” not “this looks like a video game.” If you’re learning, mobile photography communities on Reddit (r/mobilephotography) offer honest feedback.
Protecting Your Photos
Back up daily while traveling. Phones get lost, stolen, and drowned — and losing two weeks of photos is heartbreaking. Turn on automatic cloud backup before the trip (Google Photos or iCloud), and if you’re shooting a lot, back up to a laptop or portable drive too. A little paranoia here pays off enormously.
The Practical Takeaway
Taking better travel photos with your phone comes down to: clean the lens, control exposure manually, shoot during golden and blue hour, compose deliberately (thirds, foreground, leading lines), capture details alongside landmarks, and edit lightly. You don’t need a new phone — you need new habits. Practice them on your next weekend trip, even a local one, so they’re second nature when you’re standing in front of something spectacular. And when you’re riding one of America’s scenic trains, keep the phone ready — the views don’t wait for you to find your camera app.


