
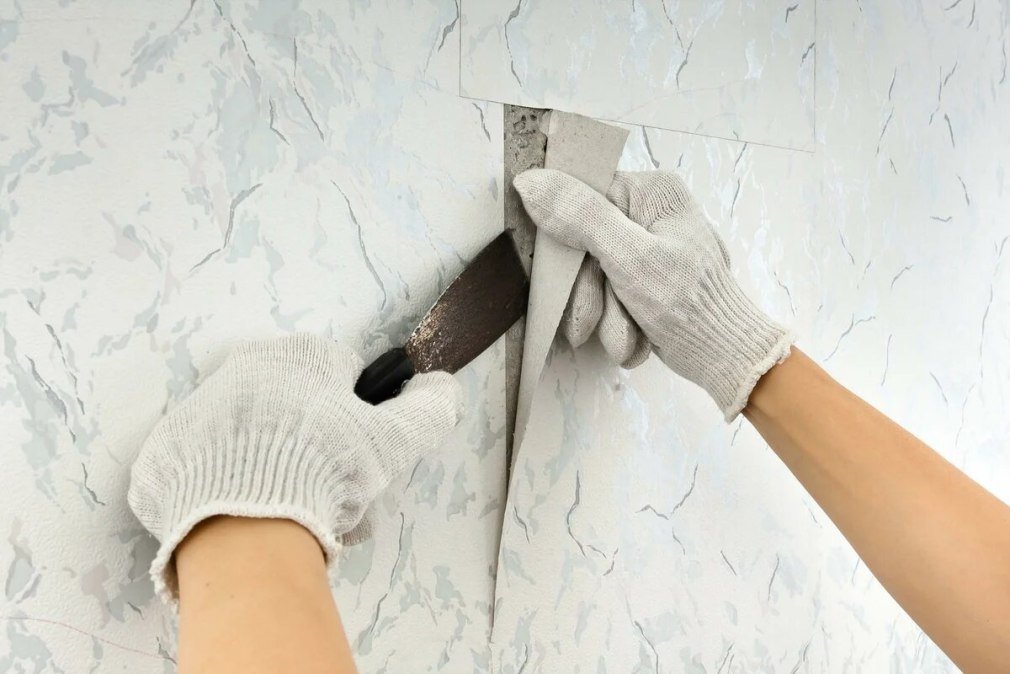
Behind that dated floral wallpaper might be beautiful plaster — or a nightmare of painted-over layers from 1973. Either way, it has to come off. So what is the best way to remove old wallpaper without destroying the walls underneath? The answer depends on the wallpaper type, but the universal method is: loosen the adhesive with moisture or steam, peel patiently, and clean the walls thoroughly after. Here’s how to do it right, layer by layer.
Step 1: Identify What You’re Dealing With
Peel back a corner and investigate:
- Peelable/strippable wallpaper. The top layer pulls off dry in satisfying sheets, leaving a thin backing layer. The easiest scenario — you’re lucky.
- Traditional pasted wallpaper. Needs water or steam to dissolve the adhesive. The most common situation in older homes.
- Painted-over wallpaper. The nightmare scenario. Paint seals the paper, blocking moisture. You’ll need to score it first (see below) and be patient.
- Multiple layers. Common in old houses — each layer must come off separately. Budget extra time and accept it.
- Wallpaper on unprimed drywall. The other nightmare: adhesive bonded directly to drywall paper. Removal may tear the drywall surface, requiring skim-coating after. Go slow and use minimal moisture.
What Is the Best Way to Remove Old Wallpaper? The Method
Tools you’ll need
- Wallpaper scoring tool ($10) — perforates the surface so moisture penetrates
- Pump sprayer or large sponge + bucket
- Wallpaper steamer ($50–$70 to buy, ~$25/day to rent) — worth every penny for large jobs
- 3″ putty knife or wallpaper scraper (plastic for delicate walls)
- Drop cloths, painter’s tape, trash bags
- Hot water + a squirt of dish soap (or a commercial wallpaper remover solution)
The process
1. Prep the room. Remove outlet covers (turn off breakers to those outlets), tape over outlets and switches, lay drop cloths. Wallpaper removal is wet and messy — protect floors and trim.
2. Try dry-stripping first. Pull a corner and peel. If the face comes off leaving backing, great — strip all the face layer first, then deal with backing separately. If nothing peels, move to moisture.
3. Score painted or stubborn paper. Run the scoring tool in overlapping circles over the surface. Don’t press hard — you’re perforating the wallpaper, not gouging the wall. This is essential for painted-over paper; skip it and water just beads off.
4. Soak or steam. Spray sections with hot soapy water (saturate well) and wait 10–15 minutes. Or use a steamer: hold the steam plate on the wall 15–30 seconds per section, then scrape immediately while it’s hot. Steam is dramatically faster for large areas — This Old House recommends renting one for anything bigger than an accent wall, and I agree.
5. Scrape gently. Work the putty knife under loosened paper at a low angle. Let the moisture/steam do the work — if you’re forcing it, soak more. Patience here prevents wall damage that takes hours to repair later.
6. Clean the walls. This step gets skipped and shouldn’t be: wash walls with hot water and TSP substitute (or vinegar solution) to remove all adhesive residue. Leftover paste causes paint to crackle and peel. Rinse with clean water and let dry completely — 24–48 hours before painting.
Dealing With Problem Situations
- Stubborn spots: re-soak and wait longer. Adhesive dissolves with time + moisture; there’s no shortcut that doesn’t damage walls.
- Torn drywall paper: seal torn areas with an oil-based or shellac primer (like Zinsser BIN) before skim-coating — water-based products make torn drywall bubble.
- Plaster walls: generally tougher and more forgiving than drywall. Steam works great; just don’t gouge with the scraper.
- Border strips: usually the easiest — they’re narrow and often peelable. Same soak-and-peel method on a small scale.
After Removal: Wall Repair
Expect imperfections: minor gouges, residual texture differences, maybe some torn spots. Fill gouges with lightweight spackle (see how to patch drywall), sand smooth, and prime the entire wall with a quality primer before painting. If walls are extensively damaged, skim-coating the whole surface (thin layer of joint compound) gives you a fresh canvas — it’s a bigger job but the results are flawless.
And once the walls are bare, you’ve got a blank slate — the perfect time to consider the right paint color for the space.
Time and Cost Reality
A single room takes 4–12 hours depending on layers and stubbornness — most of that is waiting for soak time and doing careful scraping. DIY cost: $30–$80 in tools and supplies (less if you rent the steamer). Professional removal runs $3–$7 per square foot ($500–$1,500+ per room), which tells you it’s labor-intensive, not skill-intensive. Your patience is the main tool.
Wallpaper Removal in Rentals: Getting Your Deposit Back
Stuck with ugly wallpaper in a rental? First: check your lease. Many prohibit removal, and unauthorized stripping can cost you the deposit. But if removal is allowed (or the wallpaper is already damaged and you’re fixing it), the renter’s approach differs:
- Document everything first. Photograph the wallpaper’s condition at move-in (or now, before touching it). If it’s already peeling or damaged, notify the landlord in writing — you shouldn’t pay for pre-existing issues.
- Get written permission. Email, not verbal. “Landlord approved wallpaper removal in bedroom on [date]” protects you at move-out.
- The gentle method. In rentals, prioritize wall preservation over speed — you’re liable for damage. More soaking, less scraping force. Steam on low, plastic scrapers instead of metal.
- Budget for full restoration. Removal is only half the job — you’ll need to patch, prime, and repaint to a neutral color before moving out. Factor the whole cost before starting; sometimes living with the wallpaper is the rational choice.
- Temporary alternatives. Peel-and-stick wallpaper over ugly wallpaper (if it’s flat and well-adhered), large art, tapestries, or fabric panels — all reversible, all deposit-safe. Often smarter than removal.
The landlord conversation: frame removal as an improvement (“I’d like to strip the dated wallpaper and repaint neutral at my expense”) — many landlords agree because it upgrades their unit for free. Get the agreement specifying you’ll restore to neutral. And whatever you do, don’t paint over the wallpaper hoping nobody notices — future removal becomes exponentially harder, and that’s the kind of thing that eats deposits whole.
The Practical Takeaway
The best way to remove old wallpaper: strip what peels dry, score what doesn’t, soak or steam in sections, scrape patiently at a low angle, and wash walls thoroughly afterward. Rent a steamer for big jobs, seal any torn drywall with shellac primer, and always prime before repainting. It’s tedious, not difficult — put on a podcast, work in sections, and let moisture do the heavy lifting. The walls underneath are almost always worth the effort.


