
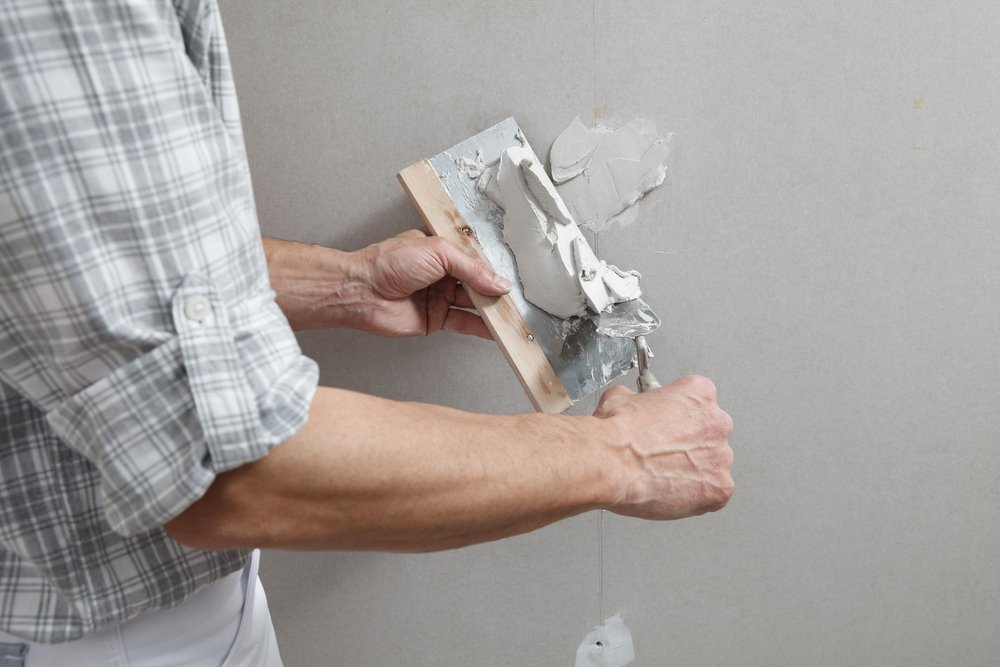
Doorknobs, rogue chair backs, enthusiastic kids — drywall holes happen in every home. The good news: patching drywall is one of the most satisfying DIY repairs there is, because a good patch is literally invisible. So how do I patch a hole in drywall myself? It depends on the size: nail holes take 10 minutes, fist-sized holes need a patch kit, and bigger damage needs a cut-and-replace. Here’s each method, step by step.
Level 1: Nail Holes and Small Dings (Under 1/2 inch)
The easiest repair in homeownership. You’ll need: lightweight spackle, a putty knife, fine sandpaper (120-grit), and touch-up paint.
- Press spackle into the hole with your finger or putty knife, slightly overfilling.
- Scrape flush with the putty knife — one clean pass.
- Let dry (30–60 minutes for lightweight spackle).
- Sand lightly until smooth and flush with the wall.
- Touch up with paint. Pro tip: paint the whole wall section corner-to-corner if the touch-up is visible — spot touch-ups often flash (look different) because of sheen differences.
Time: 15 minutes plus drying. Cost: under $10. Difficulty: trivial.
Level 2: Medium Holes (1/2 inch to 6 inches)
Doorknob holes, the classic. You’ll need: a self-adhesive mesh patch or a drywall repair kit ($5–$10), joint compound, a 6″ putty knife, sandpaper, primer, and paint.
- Prep: Remove loose debris and trim any torn paper edges with a utility knife. The patch needs a clean, flat surface.
- Apply the patch. Stick the self-adhesive mesh patch centered over the hole. For holes near 6 inches, use a rigid metal-backed patch instead — mesh alone can flex.
- First coat: Spread joint compound over the patch with a 6″ knife, feathering the edges out 2–3 inches beyond the patch. Don’t glob it on — thin coats dry faster and sand easier. Let dry completely (a few hours; overnight is safest).
- Second coat: Apply a wider, thinner coat, feathering further out. The goal is a gradual transition, not a mound. Dry again.
- Sand smooth. Use 120-grit, then 220-grit for a final pass. Sand with light pressure — you’re leveling, not excavating. Wipe dust with a damp cloth.
- Prime and paint. Joint compound absorbs paint differently than drywall paper — skipping primer guarantees a visible dull spot. Prime the patch, then paint. For texture matching tips, Home Depot’s DIY guides have good photo walkthroughs of orange-peel and knockdown texture techniques.
How Do I Patch a Hole in Drywall Myself? Level 3: Large Holes (6+ inches)
For big damage, you cut out the damaged section and replace it — sounds intimidating, but it’s just careful measuring:
- Cut a clean rectangle around the damage with a drywall saw, extending to the centers of the studs on each side if possible (so the new piece has something to screw into).
- Cut a replacement piece of the same thickness drywall (1/2″ is standard for walls, 5/8″ for ceilings) to fit the opening.
- Secure it: screw into studs where available; where there’s no stud, screw wood backing strips inside the opening first, then screw the patch to those.
- Tape the seams with paper drywall tape (stronger than mesh for large patches) embedded in joint compound.
- Mud, dry, sand, repeat — 2–3 thin coats, feathering wider each time, exactly like Level 2 but over the seams.
- Prime and paint the whole wall if possible — large patches blend best under a fresh full coat.
If the hole is in a ceiling, use 5/8″ drywall (sag-resistant) and get a helper — holding drywall overhead solo is miserable.
The Texture Problem (and How to Solve It)
Smooth walls are easy; textured walls are where patches get spotted. Match your texture:
- Orange peel: aerosol texture spray cans ($10–$15) — practice on cardboard first, light passes from 2+ feet away.
- Knockdown: spray heavier, wait 10–15 minutes, then lightly flatten with a wide knife.
- Smooth: just careful sanding — the easiest to match.
Texture matching is the one part that takes practice. When in doubt, test in a closet first.
Common Mistakes
- Too much compound, too few coats. Thick coats crack and take forever to dry. Multiple thin coats always win.
- Skipping primer. The patched spot will flash through paint. Always prime.
- Painting before it’s dry. Joint compound that’s dry on the surface but damp underneath will bubble under paint. Wait the full recommended time.
- Not feathering wide enough. The transition should be gradual over 8–12 inches for larger patches. A sharp edge catches light and screams “patch.”
After the Patch: Painting and Texture Matching
A structurally perfect patch still looks wrong if the paint doesn’t match. The finishing sequence:
- Prime the patch generously. Joint compound is thirstier than drywall paper — unprimed patches absorb paint unevenly and flash dull spots. One coat of quality primer over the patch, feathered onto surrounding paint.
- Match the sheen, not just the color. The #1 touch-up failure: right color, wrong sheen. An eggshell touch-up on a satin wall catches light differently and screams “patch.” Check the existing paint’s sheen (flat, eggshell, satin) and match it exactly.
- Use the original paint if you have it. Stored properly (sealed, climate-controlled), latex paint lasts 5–10 years. Stir thoroughly — don’t shake (bubbles). If you don’t have it, take a chip to the store for computer color matching; modern matching is remarkably accurate.
- Feather the touch-up. Don’t paint a hard-edged square over the patch. Brush or roll from the center outward with diminishing pressure, blending into the surrounding wall. For larger patches, painting corner-to-corner (the whole wall section) guarantees invisibility.
- Two thin coats beat one thick. Especially with color matches — the first coat reveals any mismatch while it’s still correctable.
Texture recap: orange-peel and knockdown textures from a can, practiced on cardboard first; smooth walls just need careful sanding. And if your patching project started because you stripped old wallpaper and found wall damage underneath — extremely common — the same prime-and-feather process applies, just on a larger scale. Once the walls are smooth and primed, you’re one step from the fun part: if you’re going lighter or bolder, check whether you can skip primer over dark colors before buying gallons.
The Practical Takeaway
Patching drywall yourself is a three-tier skill: spackle for nail holes (15 minutes), mesh patch + joint compound for medium holes (an afternoon with drying time), and cut-and-replace for large damage (a weekend project). The universal rules: thin coats, full drying time, sand smooth, always prime, and feather edges wide. Master this and you’ll never pay a handyman $200 to fix a doorknob hole again — and if you’re building your basic homeowner toolkit, a putty knife and spackle are among the first things to buy.


