How to Remove Scratches from Stainless Steel: Step-by-Step Guide (2026)
Scratches on stainless steel are frustrating, but most of them can be minimized or removed at home. Here is the direct answer: for light surface scratches, clean the area, find the direction of the steel’s grain, and rub a small amount of stainless-steel polish — or a paste of baking soda and water — along the grain with a soft microfiber cloth until the scratch fades. Deeper scratches need a scratch-removal compound or a dedicated stainless-steel scratch kit, applied the same way. You may not erase a deep gouge completely, but you can usually make it far less noticeable.
Stainless steel shows up everywhere in American kitchens — refrigerators, dishwashers, sinks, range hoods, and cookware — and in NYC apartments where compact kitchens get heavy daily use, scratches are almost inevitable. Before you panic or call a professional, try the methods below. They work on most brushed stainless finishes, which is what the vast majority of appliances use.
First, Understand Your Stainless Steel Finish
Not all stainless steel is the same, and the finish determines what will work:
- Brushed (satin) finish: The most common finish on appliances. It has fine parallel lines — the “grain” — and responds well to DIY scratch removal because you can blend repairs into the existing texture.
- Polished or mirror finish: Smooth and reflective, found on some sinks and decorative pieces. Scratches show more and are harder to fix; aggressive buffing can create a cloudy patch.
- Coated or fingerprint-resistant finishes: Many newer appliances have a clear protective coating. If yours does, polishing compounds can damage the coating — stick to gentle cleaning or check the manufacturer’s guidance first.
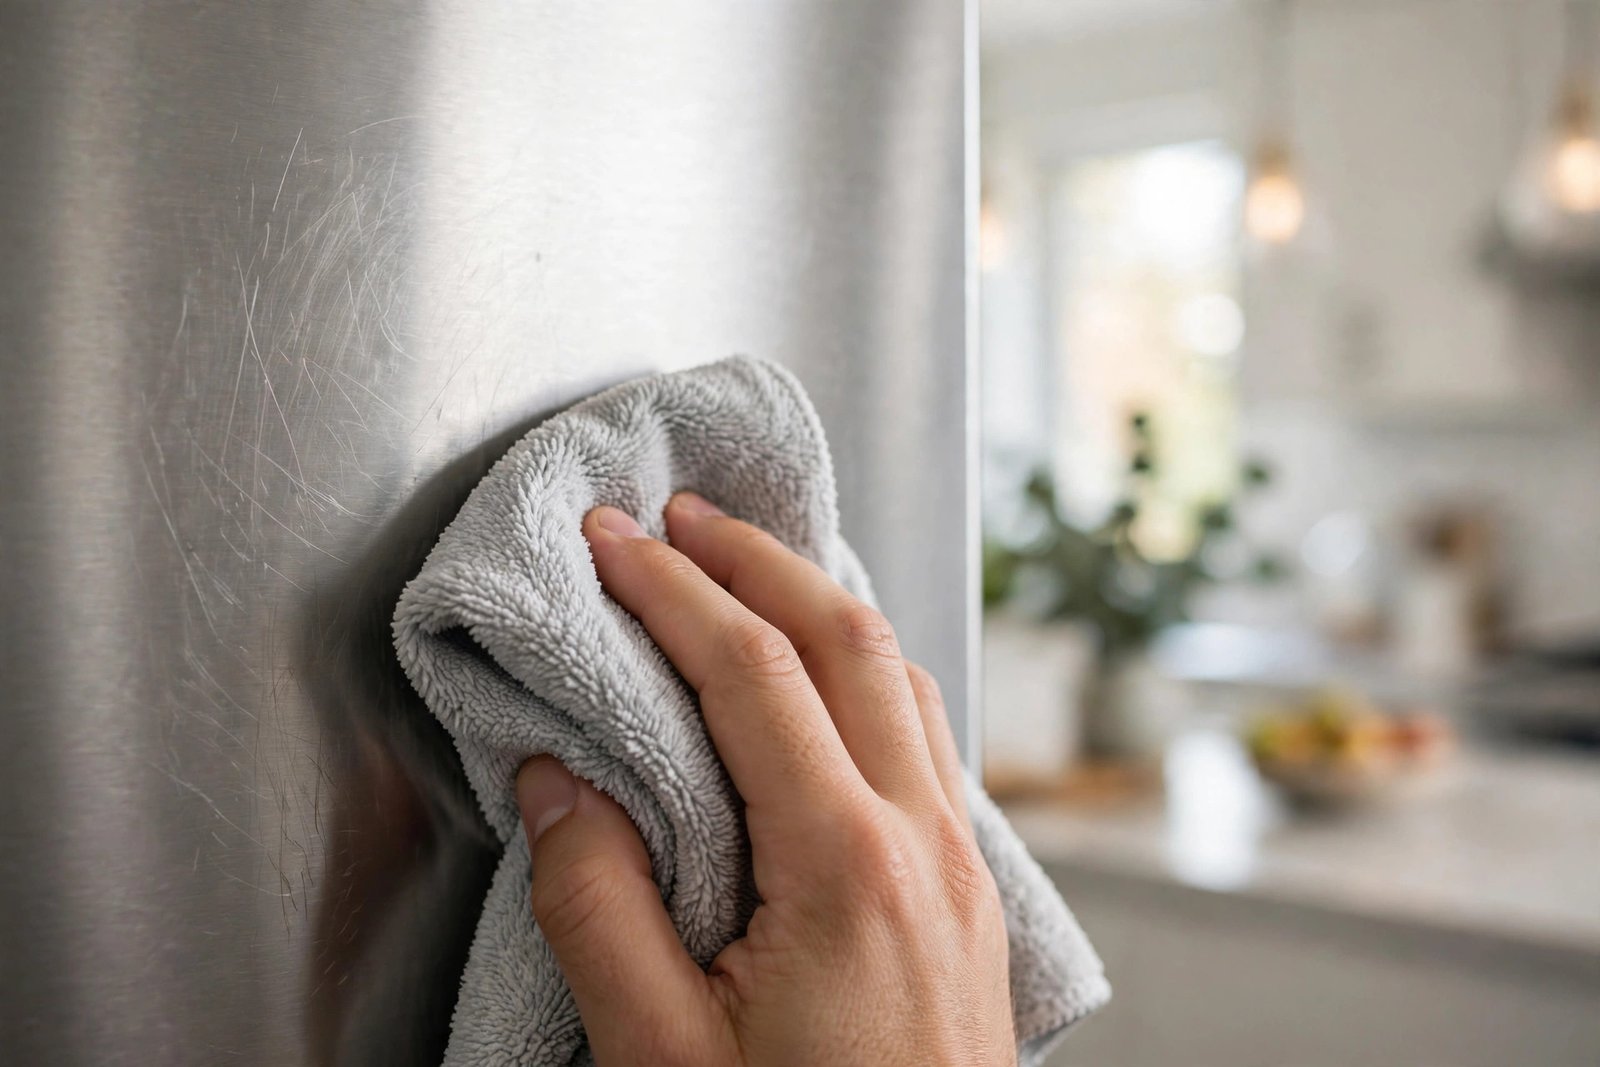
Look closely at your steel in good light and find the grain direction: the faint lines all run one way, either horizontally or vertically. Every rubbing motion you make must follow those lines. Going against the grain creates new visible scratches.
What You Will Need
- A stainless-steel cleaner or polish (commercial brands work well)
- Baking soda (as a DIY alternative)
- Several soft microfiber cloths
- Warm water and mild dish soap
- Cotton swabs for narrow areas
- For deeper scratches: a stainless-steel scratch-removal kit or a fine metal-polishing compound
How to Remove Light Scratches: Step by Step
Step 1: Clean the Surface Thoroughly
Wash the scratched area with warm water and a drop of mild dish soap using a soft microfiber cloth, wiping along the grain. Dry it completely. Dirt or grit left on the surface will turn into new scratches the moment you start rubbing.
Step 2: Confirm the Grain Direction
Look at the steel from an angle under a bright light. You will see faint parallel lines. Mark the direction mentally — every motion from here on follows those lines exactly.
Step 3: Test in a Hidden Spot
Before touching the visible scratch, test your polish or paste on an inconspicuous area, like the side of the appliance or behind a handle. Rub along the grain, wipe clean, and check the result. If the test spot looks fine, proceed.
Step 4: Apply Polish or Baking Soda Paste Along the Grain
For a commercial polish, apply a small amount to your microfiber cloth, not directly to the steel. For the DIY route, mix baking soda with just enough water to form a thick paste. Using light to moderate pressure, rub back and forth along the grain, directly over the scratch. Work in short strokes of a few inches, keeping the motion consistent and even.
Step 5: Buff and Check Your Progress
Wipe the area clean with a fresh damp cloth, then dry it and inspect. Light scratches often fade significantly within a few minutes of work. Repeat the process two or three times if needed, but stop if you are not seeing improvement — overworking one spot can wear the finish unevenly.
Step 6: Finish with a Final Clean and Polish
Once the scratch has faded, clean the whole panel with stainless-steel cleaner along the grain, then buff dry. This blends your repair into the surrounding finish so there is no visible patch.
How to Fix Deeper Scratches
When a scratch catches your fingernail, surface polishing usually is not enough. Here is how to handle the deeper ones:
- Use a scratch-removal kit: These kits typically include abrasive pads or compounds graded from coarse to fine. Start with the finest grade that shows any effect, and work up only if needed. Always rub along the grain.
- Try a metal-polishing compound: A fine rubbing compound (the kind sold for automotive or metal finishing) applied with a soft cloth can level out moderate scratches. Follow with stainless-steel polish to restore the sheen.
- Blend, do not spot-fix: With deeper repairs, extend your strokes well beyond the scratch itself so the reworked area blends into the surrounding grain instead of standing out as a shiny patch.
- Know when to call a professional: If the scratch is deep enough to feel like a groove, runs across a large visible panel, or sits on a mirror-finish surface, a professional metal refinisher can re-grain the panel. This typically costs $100 to $300 for an appliance panel — worth it for an expensive refrigerator.
Methods That Work vs. Methods to Skip
Methods worth trying: stainless-steel polish, baking soda paste, dedicated scratch-removal kits, fine metal-polishing compound, and for sinks, a paste of cream of tartar and water.
Methods to avoid: steel wool or wire brushes (they carve new scratches), coarse sandpaper, bleach or chlorine cleaners (they can pit the steel), and rubbing in circles or against the grain — the single most common way people make scratches worse.
Scratch Removal for Specific Items
Refrigerators and Dishwashers
These are almost always brushed finish with a clear grain. The light-scratch method works beautifully here. Pay attention to the area around handles, where rings and fingernails cause most of the damage.
Stainless Steel Sinks
Sinks take abuse from pots, utensils, and scouring pads. A paste of baking soda and water, rubbed along the grain with a soft sponge, handles most sink scratches. For a well-worn sink, some people do a full re-graining with a fine abrasive pad, working the entire basin in one direction for a uniform look.
Pots, Pans, and Cookware
Light scratches on cookware are cosmetic and harmless. Polish the exterior if it bothers you, but do not use abrasive compounds on nonstick-coated stainless or on cooking surfaces — and never compromise a pan’s integrity chasing a perfect finish.
Mistakes to Avoid
- Rubbing against the grain: The number one mistake. It turns one scratch into a crosshatched mess.
- Using too much pressure: Let the polish or compound do the work. Heavy pressure removes finish unevenly.
- Skipping the test spot: Finishes vary, especially on coated appliances. Always test somewhere hidden first.
- Using paper towels: They can be surprisingly abrasive. Stick to microfiber.
- Expecting perfection on deep scratches: A realistic goal is “barely noticeable,” not “invisible.”
How to Prevent Future Scratches
- Clean stainless steel only with soft microfiber cloths and non-abrasive cleaners.
- Do not use magnetic holders, hooks, or decorations with rough backs on appliance doors.
- Lift items off stainless counters instead of sliding them.
- In the sink, avoid dumping sharp utensils and use a sink grid to protect the basin.
- Apply a stainless-steel protectant after cleaning — it adds a thin barrier against minor scuffs and fingerprints.
Frequently Asked Questions
Can toothpaste remove scratches from stainless steel?
Non-gel white toothpaste is a mild abrasive and can fade very light surface scratches when rubbed along the grain. It is not as effective as a dedicated polish or baking soda paste, but it works in a pinch. Avoid whitening or gel formulas, which can be too harsh or contain additives that stain.
Does WD-40 remove scratches from stainless steel?
WD-40 does not remove scratches, but it can make light ones less visible temporarily by filling them with oil, and it is decent for cleaning and polishing the surface afterward. Do not rely on it as a scratch remover.
Can you use sandpaper on stainless steel scratches?
Only very fine sandpaper (600 grit or finer, ideally 800 to 1000) and only on uncoated brushed stainless, always with the grain. This is a last resort for deeper scratches, and it is easy to make things worse. Most people should stick to polishing compounds or call a professional.
Will scratches on a stainless steel refrigerator get worse over time?
Scratches themselves do not spread, but the exposed metal in a deep scratch can be slightly more vulnerable to corrosion, especially in humid environments. Light cosmetic scratches are harmless. Keep the surface clean and dry, and address deep scratches when you can.
How much does professional stainless steel scratch repair cost?
For a single appliance panel, expect $100 to $300 depending on the size of the area and your market — a bit more in New York City. Full refinishing of a large item like a range hood can run higher. Get a quote before committing, since for older appliances, replacement panels are sometimes cheaper.
Most stainless steel scratches look worse than they are. Start gentle, always follow the grain, and work up to stronger methods only if the light approach does not do the job. With a little patience, that scuffed refrigerator door can look close to new again.