
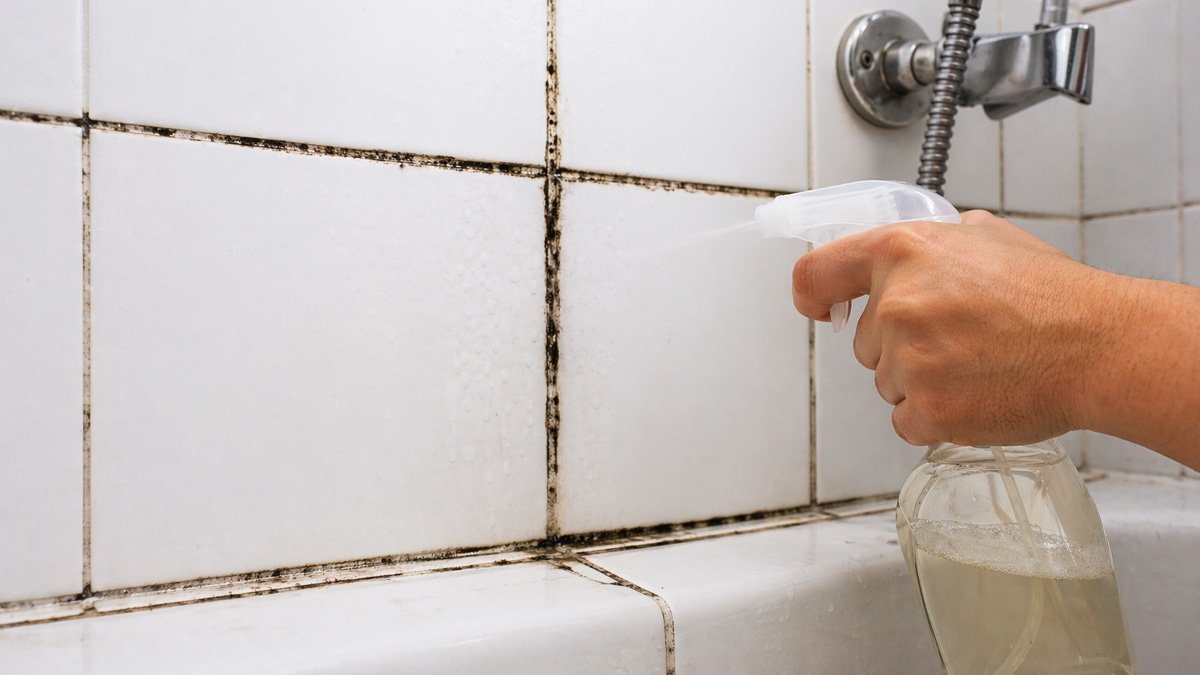
Black spots creeping across the shower grout or bathroom ceiling. It’s ugly, it smells musty, and you’ve heard mold is dangerous. Take a breath — most bathroom mold is a housekeeping problem, not a hazmat situation. So how do I remove mold from bathroom walls safely? For small areas (under ~10 square feet), it’s a straightforward DIY job with the right cleaner and precautions. Here’s what works, what doesn’t, and when to call a professional.
Safety First: Protect Yourself
Even “harmless” mold irritates lungs and eyes during cleaning:
- Ventilate: open windows, run the exhaust fan. If you don’t have a fan, that’s part of why you have mold — consider installing one (see prevention below).
- Wear protection: N95 mask, rubber gloves, eye protection. Mold spores go airborne when scrubbed — don’t breathe the cloud.
- Keep others out: kids, elderly, and anyone with asthma or allergies should leave the room during cleaning.
- Don’t dry-scrape large areas — wet the mold first to keep spores from aerosolizing.
How Do I Remove Mold From Bathroom Walls Safely? What Actually Kills Mold
Best all-around: Concrobium or similar mold-control spray
Products specifically formulated for mold (Concrobium Mold Control is the best-known) kill mold at the roots and leave an antimicrobial barrier preventing regrowth — without bleach’s downsides. Spray on, let dry, no scrubbing needed for light mold. ~$10/bottle. My top recommendation for bathroom mold.
Hydrogen peroxide (3%)
Spray full-strength on mold, wait 10 minutes, scrub, wipe. Kills most surface mold effectively, breaks down to water and oxygen (no toxic residue), and has mild bleaching action for stains. Safe on grout, tile, and painted drywall. The best DIY option.
White vinegar (undiluted)
Spray, wait an hour, scrub, wipe. Kills ~80% of mold species — good for light surface mold, less effective on deeply rooted growth. The smell dissipates. Cheap and non-toxic, but weaker than peroxide.
Baking soda paste
Mild abrasive + deodorizer. Good for scrubbing grout lines after a peroxide or vinegar treatment, not a standalone mold killer.
What about bleach?
The EPA’s mold guidance notes bleach’s limits: it kills surface mold on non-porous materials (tile, glass) but doesn’t kill mold roots in porous materials (drywall, grout, wood) — the mold returns, often worse, because bleach’s water content feeds what the chlorine can’t reach. Plus fumes, plus damage to finishes. Use it only on non-porous surfaces for stain removal, never as your primary mold treatment on drywall or grout.
The Cleaning Process
- Contain: close the bathroom door, cover vents if doing a large area.
- Apply your cleaner (peroxide or Concrobium) generously to the moldy area.
- Wait 10–15 minutes (peroxide) or per product directions.
- Scrub with a stiff brush — grout brush for lines, sponge for flat surfaces.
- Wipe clean and dry the area thoroughly.
- Inspect: if staining remains on grout, that’s often permanent discoloration, not live mold. Regrouting is the cosmetic fix.
When It’s NOT a DIY Job
- Area larger than ~10 sq ft. EPA guideline — bigger infestations need professional containment.
- Mold inside walls or ceiling (soft drywall, bubbling paint, musty smell with no visible source). Surface cleaning won’t reach it; the affected material usually needs removal.
- After flooding or chronic leaks. Hidden mold behind walls is likely — get an inspection.
- HVAC contamination. Mold in ductwork spreads spores house-wide; needs professional remediation.
- Health symptoms. If anyone has persistent respiratory issues, get professional assessment rather than DIY experimenting.
- You suspect black mold (Stachybotrys). It requires lab testing to identify, and extensive growth needs pros regardless of species.
Professional remediation runs $500–$3,000+ depending on extent — expensive, but hidden mold destroys drywall, framing, and health if ignored.
Prevention: The Real Cure
Mold is a moisture problem wearing a cleaning-problem costume. Kill the moisture and mold can’t grow:
- Ventilate every shower: run the exhaust fan during + 20–30 minutes after. No fan? Install one ($150–$300) — it’s the single best mold investment. A humidity-sensing switch ($30) automates it.
- Squeegee shower walls after use — 30 seconds removes the moisture mold needs.
- Fix leaks immediately. Dripping faucets, sweating pipes, grout gaps — any chronic moisture source.
- Keep grout sealed — see how to clean and seal grout.
- Wash shower curtains/liners regularly; replace when they stay grimy.
- Leave the shower door/curtain open after use for airflow.
Bathroom Ventilation: The Mold Prevention System
Cleaning mold without fixing ventilation is mopping the floor with the tap running. Get the air right:
- Fan sizing matters. Bathroom fans are rated in CFM (cubic feet per minute) — you need roughly 1 CFM per square foot of bathroom (50 sq ft = 50 CFM minimum). Undersized fans are the norm in older homes and the root cause of most bathroom mold. Check your fan’s rating; if it’s inadequate, replacement ($150–$300 installed) is the fix.
- Run it longer than you think. During the shower plus 20–30 minutes after. Humidity-sensing switches ($25–$40) automate this — they run until moisture drops, then shut off. The best mold investment after the fan itself.
- Verify it vents outside. Shockingly common in older homes: fans venting into the attic, pumping moist air into the roof structure. Check yours — if it terminates in the attic, reroute it through the roof or soffit immediately. Attic mold from misvented bath fans is a remediation-scale problem.
- Clean the fan. Dust-clogged fans move a fraction of their rated air. Vacuum the grille and fan blades yearly — five minutes that restores full function.
- No fan? Options. A window cracked during/after showers helps enormously. Dehumidifiers work for windowless baths. But prioritize installing a real fan — it’s the only proper solution, and it also clears mirrors and odors.
The moisture audit: after implementing ventilation, monitor for a month. No new mold, existing spots don’t return, mirrors clear faster — the system works. Persistent moisture despite good ventilation means a hidden source: plumbing leak, grout failure, or groundwater. And if you’re renovating the bathroom anyway, build ventilation into the plan from day one — it’s far cheaper than retrofitting, and resources on bathroom remodel planning and small bathroom design both emphasize getting the invisible systems right before the pretty surfaces.
The Practical Takeaway
Removing bathroom mold safely means: protect yourself (N95, gloves, ventilation), use hydrogen peroxide or a dedicated mold-control spray (not bleach on porous surfaces), scrub and dry thoroughly, and call a pro for areas over 10 sq ft or mold inside walls. But the lasting fix is moisture control — exhaust fan discipline, squeegeeing, and fixing leaks. Clean the mold once properly, fix the moisture permanently, and you’ll never do this again.


