
The repair shop quoted $200 and the DIY kit is $35. So how do I fix a cracked phone screen myself at home — is this a satisfying weekend project or an expensive disaster waiting to happen?
So, how do I fix a cracked phone screen myself at home? I went down the rabbit hole on this one so you don't have to. Here's everything worth knowing, minus the fluff.
The Bottom Line Up Front
It's doable on many phones, but difficulty varies wildly. Older iPhones (8 through SE) and many budget Androids are genuinely beginner-friendly: $25–$50 kits include the screen and tools, and good video tutorials walk you through it in 1–2 hours. Newer flagships with waterproof seals, glued components, and delicate OLED cables are much riskier — one torn cable turns a $40 repair into a dead phone. Rule of thumb: if the phone is worth under $300 or already out of warranty, DIY is reasonable; if it's a $1,000 flagship, pay the pro.
That's the gist, but the details matter here — they decide whether you overpay, waste time, or get it right the first time.
For more on this, see our guide to How do I mirror my laptop screen to a smart TV.
For the official word, check iFixit's free phone repair guides, which lays out the details straight from the source.
How Do I Fix a Cracked Phone Screen Myself at Home? Difficulty by Phone
- Here's the thing — iPhone SE, iPhone 8–11, and many Motorola/Samsung A-series: straightforward repairs with abundant tutorials.
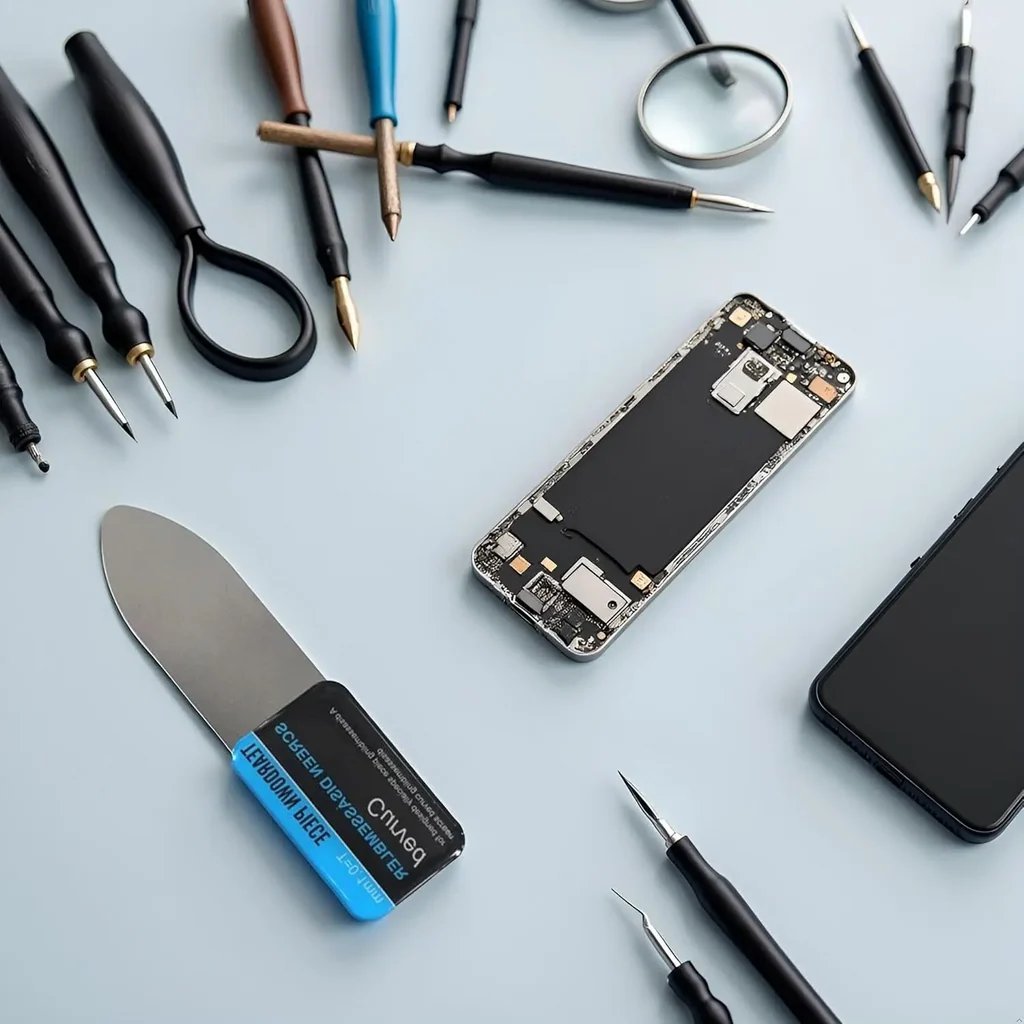
- You'll need: replacement screen kit ($25–$60), small screwdrivers, plastic pry tools, tweezers, and patience.
- iFixit.com offers free step-by-step guides with difficulty ratings for nearly every phone — check yours before ordering parts.
- Newer iPhones (12+) and Galaxy S flagships: waterproof adhesive and fragile cables make these genuinely tricky.
- Here's the thing — DIY voids any remaining manufacturer warranty — check your coverage before opening anything.
A Quick Real-World Example
I replaced the screen on my old iPhone SE following an iFixit guide: 90 minutes, one moment of panic over a tiny screw, and a working phone for $32. Would I try it on my current $1,100 phone? Absolutely not — that one goes to the shop.
Before You Order That Repair Kit
Let me save you from the most common tech-buying regret: buying for the person you wish you were instead of the person you actually are. The pro camera you’ll “learn photography” with, the smartwatch for the workouts you’ll “definitely start,” the high-end laptop for hobbies that never materialize — we’ve all been there. Buy for your real life, not your aspirational one. Your real life is where the thing has to earn its keep.
On the flip side, don’t cheap out on the things you touch every day. The device you stare at for six hours daily, the chair you sit in, the headphones on your commute — a little extra here pays you back in comfort every single day. Splurge where the hours go, save where they don’t. That’s the whole philosophy, and it’s never steered me wrong.
Here’s something the spec sheets won’t tell you: real-world performance and advertised performance are different animals. Battery life is measured in lab conditions, WiFi speeds assume you’re hugging the router, and “water resistant” comes with fine print that would make a lawyer blush. I take every manufacturer claim and mentally shave off 20–30%. If the product still looks good after that haircut, it’s probably genuinely good.
User reviews are your best friend here — but read them like a detective, not a tourist. Ignore the five-star raves and the one-star rants; the truth lives in the three-star reviews where people explain exactly what bugged them after a month of real use. Sort by “most recent” too, because firmware updates can fix or break things, and a review from two years ago might describe a product that barely exists anymore.
Worth a read next: How much does it cost to replace a phone screen at a repair shop.
What Works in the Real World
- A small thing that makes a big difference — watch the full tutorial video first — if any step makes you nervous, that's your answer.
- Veterans of this stuff all say the same thing: organize screws on a magnetic mat or labeled tape; mixing them up causes real damage.
- Here's one that saves people real money: buy the kit from a seller with strong reviews — screen quality varies enormously.
- It's not glamorous, but it works: back up your phone completely before starting; assume the worst.
Where People Usually Go Wrong
- Here's a painful one: forcing connectors instead of finding the release latch — torn cables are the #1 DIY killer. Learn from other people's mistakes on this.
- Here's one I see constantly: skipping the adhesive/seal replacement, leaving the phone vulnerable to dust and moisture. Don't let it happen to you.
- Watch out for this: rushing the final testing — check touch, cameras, and sensors before sealing it up. It's the kind of thing that seems fine until it isn't.
A Few More Questions Answered
Is the cheapest option ever the right call?
Sometimes, but rarely for things you depend on daily. The cheapest option usually cuts something — quality, support, longevity, or all three. The sweet spot is almost always the mid-range: proven, reasonably priced, with real support behind it. Buy cheap twice and you've spent more than buying right once.
How long does this usually take?
Honestly, it varies more than most guides admit. A straightforward case might take under an hour, while anything involving shipping, appointments, or waiting on parts can stretch to several days. My advice: ask for a realistic timeline up front, then add a buffer. If someone promises it'll be instant, get the details — 'instant' usually means 'the easy part is instant.'
What's the biggest mistake beginners make?
Rushing. People either buy the first option they see or dive into a fix without reading the instructions twice. Slow down, compare at least three options, and read the fine print — especially around warranties, return windows, and what's actually included. Ten extra minutes of patience routinely saves hundreds of dollars.
Wrapping It Up
On an older or budget phone, DIY screen repair is a genuinely rewarding $35 project. On a new flagship, it's a gamble — know which one you're holding before you pick up the screwdriver.
At the end of the day, this is one of those things where a little homework pays off fast.
If that piqued your interest, you’ll like How do I recover deleted photos from my Android phone too.
One more useful resource: the FTC's right-to-repair resources — worth bookmarking before you make any final decisions.


