
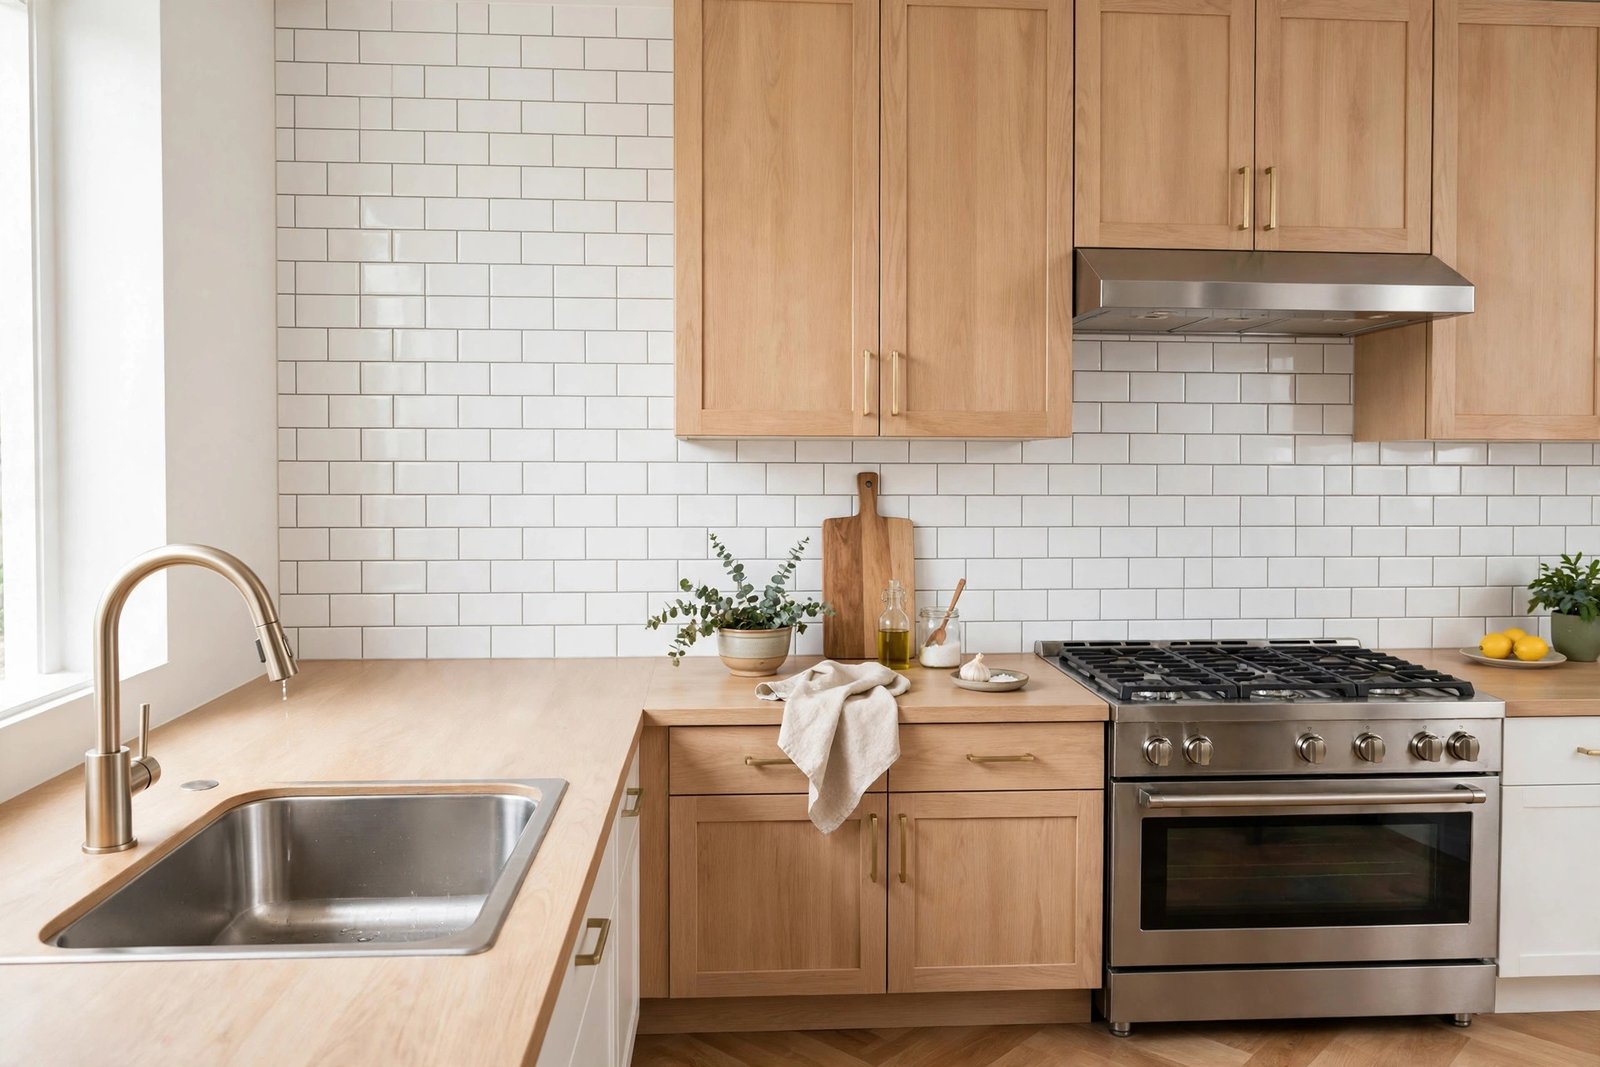
A backsplash is the jewelry of the kitchen — a relatively small area that transforms the whole room’s look. And unlike most tile work, it’s genuinely beginner-friendly: small area, no floor-level waterproofing stress, and mistakes hide behind the stove. So can I install a backsplash in my kitchen as a beginner? Yes — absolutely. Thousands of first-timers do it every weekend. Here’s the complete guide, including the even-easier alternative if real tile feels like too much.
The Honest Difficulty Assessment
On the DIY difficulty scale, a backsplash is a 3/10: easier than painting cabinets (less prep), harder than swapping hardware. The skills needed: measuring, spreading adhesive, placing tile straight, and grouting. None require experience — just patience. A typical 30 sq ft backsplash takes a beginner one full weekend (Saturday: tile, Sunday: grout). The most common beginner mistake isn’t technique — it’s rushing the layout planning.
Can I Install a Backsplash in My Kitchen as a Beginner? The Easiest Path
Option A: Peel-and-stick tile (easiest, no grout)
Modern peel-and-stick has evolved far beyond the shiny plastic of the past — quality options convincingly mimic ceramic, subway tile, and even marble. Peel, stick, trim with a utility knife. A backsplash in 2–3 hours, no mess, no special tools, removable for renters. Downsides: less durable than real tile, can peel near high heat, and close inspection reveals the truth. For a rental or a 3–5 year refresh, it’s excellent. ($3–$8/sq ft.)
Option B: Real tile with pre-mixed adhesive (best value)
The real thing, beginner-simplified. Here’s the process:
What you need ($100–$200 total)
- Tile of choice — subway tile or large-format squares are most forgiving for beginners (small mosaics and natural stone are fussier)
- Pre-mixed tile adhesive/mastic (no mixing!)
- Notched trowel (1/4″ x 1/4″ for most wall tile)
- Tile spacers, level, tape measure, pencil
- Wet tile saw or snap cutter (rent the saw, ~$50/day — or buy a $30 snap cutter for straight cuts on ceramic)
- Pre-mixed grout, grout float, sponges, bucket
The process
- Prep: turn off power to outlets, remove cover plates, clean the wall (degrease!), repair damage. Tile needs a clean, flat, sound surface.
- Plan the layout: dry-lay the first row. Find the center of the wall and work outward so cut tiles land symmetrically at the ends (not one sliver on one side). Mark a level starting line — walls and counters are never perfectly level, so don’t trust them.
- Set tile: spread adhesive in small sections (2–3 sq ft at a time — it skins over), comb with the notched trowel, press tiles in with a slight twist, insert spacers. Check level every few tiles. Cut edge tiles as needed.
- Let cure 24 hours. Don’t touch it. Seriously.
- Grout: remove spacers, spread grout diagonally with the float, pressing into joints. Wait 15–30 minutes, then wipe with a damp (not wet) sponge in circular motions. Rinse the sponge often. Multiple light passes beat one aggressive scrub.
- Final wipe after haze forms (an hour or so) with a clean dry cloth. Caulk the joint where tile meets countertop (grout cracks there — always caulk).
- Seal if using natural stone or unglazed tile (most ceramic/glass doesn’t need it).
Home Depot’s tile guides have video walkthroughs of each step — watch the grouting video specifically, since that’s the step where technique matters most.
Beginner Tips That Prevent Regret
- Buy 10–15% extra tile. Cuts go wrong; boxes vary by dye lot (check lot numbers match). The extra $20 saves a mid-project crisis.
- Start with the most visible area. Your technique improves as you go — put your best work where eyes land.
- Outlet cutouts: measure carefully, cut with the wet saw, or use a tile nipper for small notches. Outlet extenders ($2 each) bring outlets flush with the new tile surface — required by code in most areas.
- Don’t tile behind the fridge or in hidden spots — save tile and time; nobody sees it.
- Keep it simple on pattern. Straight subway or grid patterns are forgiving; herringbone as a first project is ambitious (possible, but budget extra time and tile).
What It Costs
DIY real tile: $5–$15/sq ft in materials ($150–$450 for a typical 30 sq ft backsplash). Pro installation: $15–$40/sq ft ($450–$1,200+). The savings are substantial — and unlike countertop replacement, this is a project where DIY quality genuinely matches pro quality with care.
Coordinating Backsplash with Cabinets and Counters
A backsplash doesn’t exist in isolation — it’s the bridge between cabinets above and counters below. Getting the trio right:
- Pick the counter first, cabinets second, backsplash last. The backsplash is the easiest element to change and should respond to the other two — not the other way around. Choosing tile before counters is how kitchens end up fighting themselves.
- One star per kitchen. Bold counters + quiet backsplash, or quiet counters + bold backsplash — never both. If your granite is dramatic, the backsplash should whisper. If counters are plain quartz, the tile can sing.
- Undertone matching. Hold tile samples against both the cabinet paint and the counter stone in your kitchen’s actual light. Grays are treacherous — blue-gray tile against warm-gray cabinets clashes subtly and permanently. When in doubt, go warmer or cooler to match, never split the difference.
- Grout as a design element. Contrasting grout (dark grout + white subway tile) makes the pattern pop; matching grout makes it disappear. Neither is wrong — but it’s a decision, not an afterthought. And remember: dark grout hides stains; white grout in a cooking zone is a maintenance commitment.
- Sample at scale. One tile lies; a 2×2-foot sample board tells the truth. Tape sample boards up for a few days and view them morning, noon, and night before committing.
The sequence that works: refresh the cabinets first (paint color sets the palette), finalize countertop selection second, then choose the backsplash that ties them together. Done in this order, even a beginner’s first tile job looks like it was planned by a designer — because the planning, not the tiling, is what makes it work.
The Practical Takeaway
Yes, a beginner can install a kitchen backsplash — it’s one of the best first tile projects: small area, straightforward technique, huge visual payoff. Choose subway or large-format tile, use pre-mixed adhesive and grout to skip the mixing learning curve, plan the layout before spreading anything, and don’t rush the cure times. One weekend, $150–$450, and a kitchen that looks custom. If even that feels like too much, quality peel-and-stick delivers 70% of the look in an afternoon — no shame in the easy win.


