
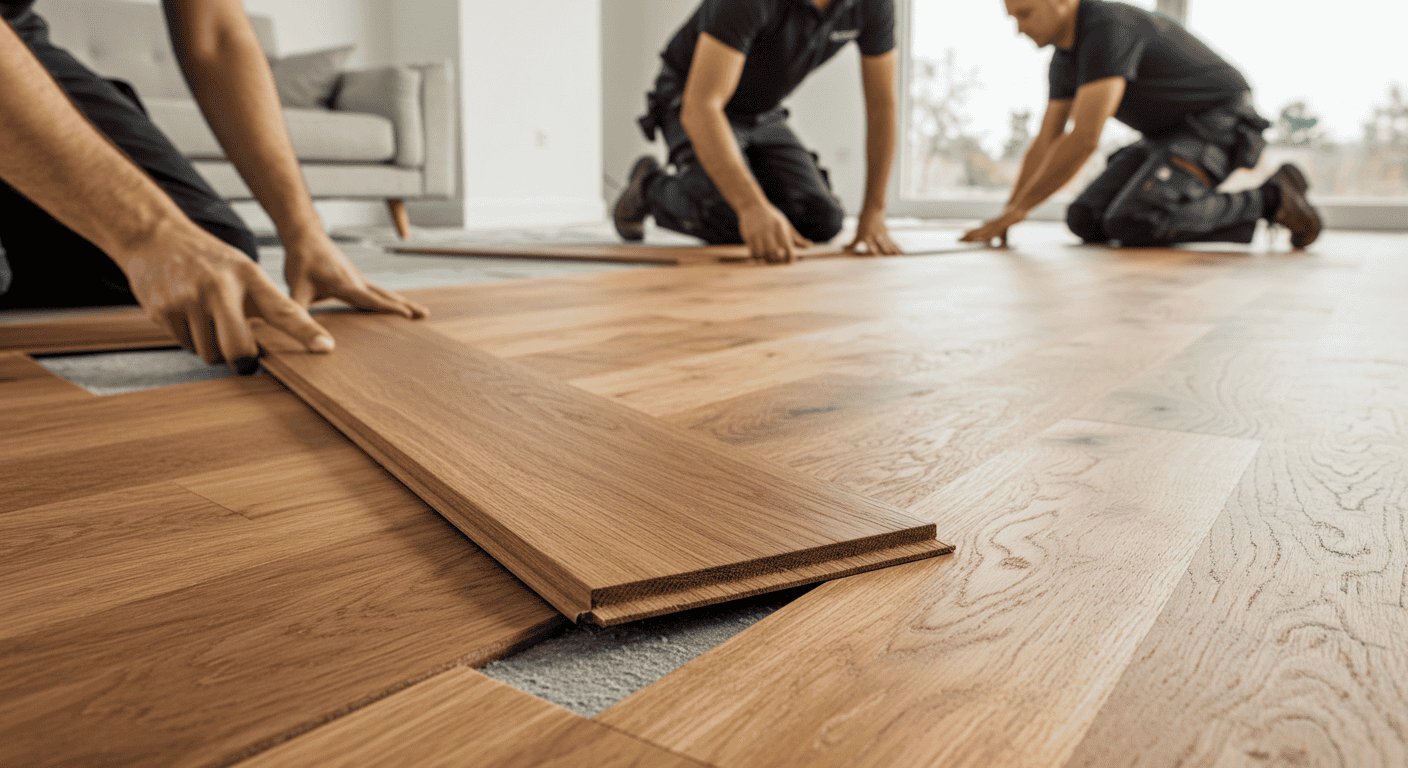
That dated tile floor has to go — but ripping it out means days of demolition, dust, dumpster fees, and possibly asbestos testing in older homes. So can I install laminate flooring over existing tile instead? Yes — in most cases, floating laminate (or vinyl plank) installs directly over tile beautifully, saving you the entire demolition phase. But “most cases” has conditions. Here’s exactly when it works, how to prep, and when to tear out instead.
When You CAN Install Over Tile
- The tile is firmly bonded. Walk the floor listening for hollow sounds and checking for loose or rocking tiles. Well-adhered tile is a fine substrate; loose tile is not — it will telegraph movement into the new floor.
- The tile is flat within tolerance. Laminate needs flatness within 3/16″ over 10 feet. Most tile installations meet this; lippage (uneven tile edges) or sunken areas don’t. A long straightedge reveals the truth.
- Grout lines are narrow and shallow. Standard grout lines (1/8″–1/4″) are fine under laminate with proper underlayment. Wide, deep grout lines (old quarry tile, Mexican Saltillo) can telegraph through — they need skim-coating first.
- Height transitions are manageable. Laminate + underlayment adds ~1/2″–5/8″ of height. Check door clearances (you may need to trim door bottoms), transitions to adjacent rooms, and appliance fits (dishwashers under counters are the classic gotcha — measure!).
- Moisture isn’t an issue. Tile over a slab with moisture problems will transfer those problems to laminate. Test concrete slabs for moisture; in bathrooms, consider waterproof vinyl plank instead of laminate.
Can I Install Laminate Flooring Over Existing Tile? The Prep Process
1. Deep-clean the tile
Degrease thoroughly — kitchen tile especially. Any wax, grease, or residue compromises the underlayment’s grip and can cause squeaking. A TSP substitute wash followed by clean water rinse works well.
2. Fix loose tiles and fill grout lines
Re-adhere or remove-and-fill any loose tiles (patch with thinset, let cure). For wide/deep grout lines, skim-coat the entire floor with a floor-leveling compound or embossing leveler — this creates the flat monolithic surface laminate wants. Let it cure fully per manufacturer instructions. This step is what separates good installs from bouncy ones.
3. Address height at transitions
Plan transitions before you start: reducer moldings where the new floor meets lower adjacent flooring, and check every door swing. Trimming a door bottom is a 10-minute job with a circular saw and guide — do it before the floor goes in, not after.
4. Lay underlayment
Roll out quality underlayment (2–3mm foam minimum; consider premium acoustic underlayment for upper floors). Tape seams. The underlayment bridges minor grout-line texture and adds moisture protection and sound dampening. Don’t double up underlayment with pre-attached pad laminate — too much cushion causes joint failure.
5. Install the laminate
Standard click-lock installation: stagger joints 8″+, maintain 3/8″ expansion gaps at walls (covered by baseboard), undercut door jambs so flooring slides beneath. Work left to right, and tap joints together with a tapping block — never hammer directly on the locking edge.
When to Remove the Tile Instead
- Loose, cracked, or drummy tile across large areas. Spot-fixing a few tiles is fine; re-bonding half a floor isn’t.
- Height is critical. If that extra 1/2″ breaks dishwasher clearance or creates a trip hazard at entries, demo is the answer.
- Asbestos-containing tile or adhesive (common in 9×9 vinyl-asbestos tile pre-1980s): actually, this is a case for going over — encapsulation by covering is often safer and legal where removal requires abatement. Check local regulations; don’t guess with asbestos.
- Structural or moisture problems underneath. If the subfloor is damaged or wet, covering it hides a growing problem. Fix first, floor second.
- Bathrooms with moisture exposure. Standard laminate and wet bathrooms don’t mix. Use waterproof SPC vinyl plank over tile instead — same no-demo benefit, waterproof result.
Home Depot’s flooring guides have good videos on the skim-coating step, which is the part most first-timers haven’t done before.
Cost and Time Savings
Skipping demolition saves $2–$5/sq ft in demo labor and disposal — $1,000–$2,500 on a typical room — plus 2–4 days of dust and noise. Your added costs: leveling compound ($30–$50/bag, 1–2 bags per room), underlayment, and transition moldings. Net savings are substantial, which is why the pros do this routinely. If you’re weighing flooring options for a home with pets, going over tile with waterproof LVP is an especially strong play.
Vinyl Plank vs. Laminate Over Tile: Which to Choose?
Laminate isn’t the only floating floor that goes over tile — luxury vinyl plank (LVP) installs the same way, and the choice between them matters:
- Choose laminate when: budget is the priority (it’s typically $1–$2/sq ft cheaper than LVP), the room is dry (living rooms, bedrooms, hallways), and you want the most wood-realistic look and feel underfoot. Modern laminate’s texture and visuals are excellent.
- Choose LVP when: moisture is a factor (kitchens, bathrooms, basements, entries) — LVP is waterproof where laminate is merely water-resistant. Also better for homes with pets (accidents happen) and over tile with minor moisture concerns.
- Installation is nearly identical: both are click-lock floating floors with the same prep requirements (flat, clean, stable tile). If you can install one, you can install the other. Underlayment needs differ slightly — follow each product’s specs.
- Height: comparable (both add ~1/2″ with underlayment). Same door-clearance and transition planning applies.
- Cost: LVP runs $3–$7/sq ft installed vs. laminate’s $2–$5. Over tile (no demo either way), the gap is purely material.
The deciding question: will this floor ever get wet? Kitchens, baths, mudrooms, pet zones → LVP, no contest. Dry living spaces → laminate’s cost savings and feel win. Either way, the prep work described above is identical — and if you’re weighing this against restoring what you have, read whether refinishing existing floors makes more sense first. Sometimes the best floor is the one already under the tile — worth checking what’s beneath before covering it. And if the existing floor squeaks, address squeaky subfloors during prep — a silent foundation makes any new floor feel premium.
The Practical Takeaway
Yes, you can install laminate flooring over existing tile when the tile is solid, flat, and dry — with proper cleaning, grout-line leveling, and quality underlayment. The critical checks: tile adhesion (no hollow/loose areas), flatness within 3/16″ per 10 feet, door and appliance clearances for the added height, and moisture. Remove tile instead when it’s extensively loose, height is a dealbreaker, or there’s subfloor damage underneath. Done right, going over tile saves thousands and days of demolition mess — the floor looks identical to a fresh-subfloor install once it’s down.


