
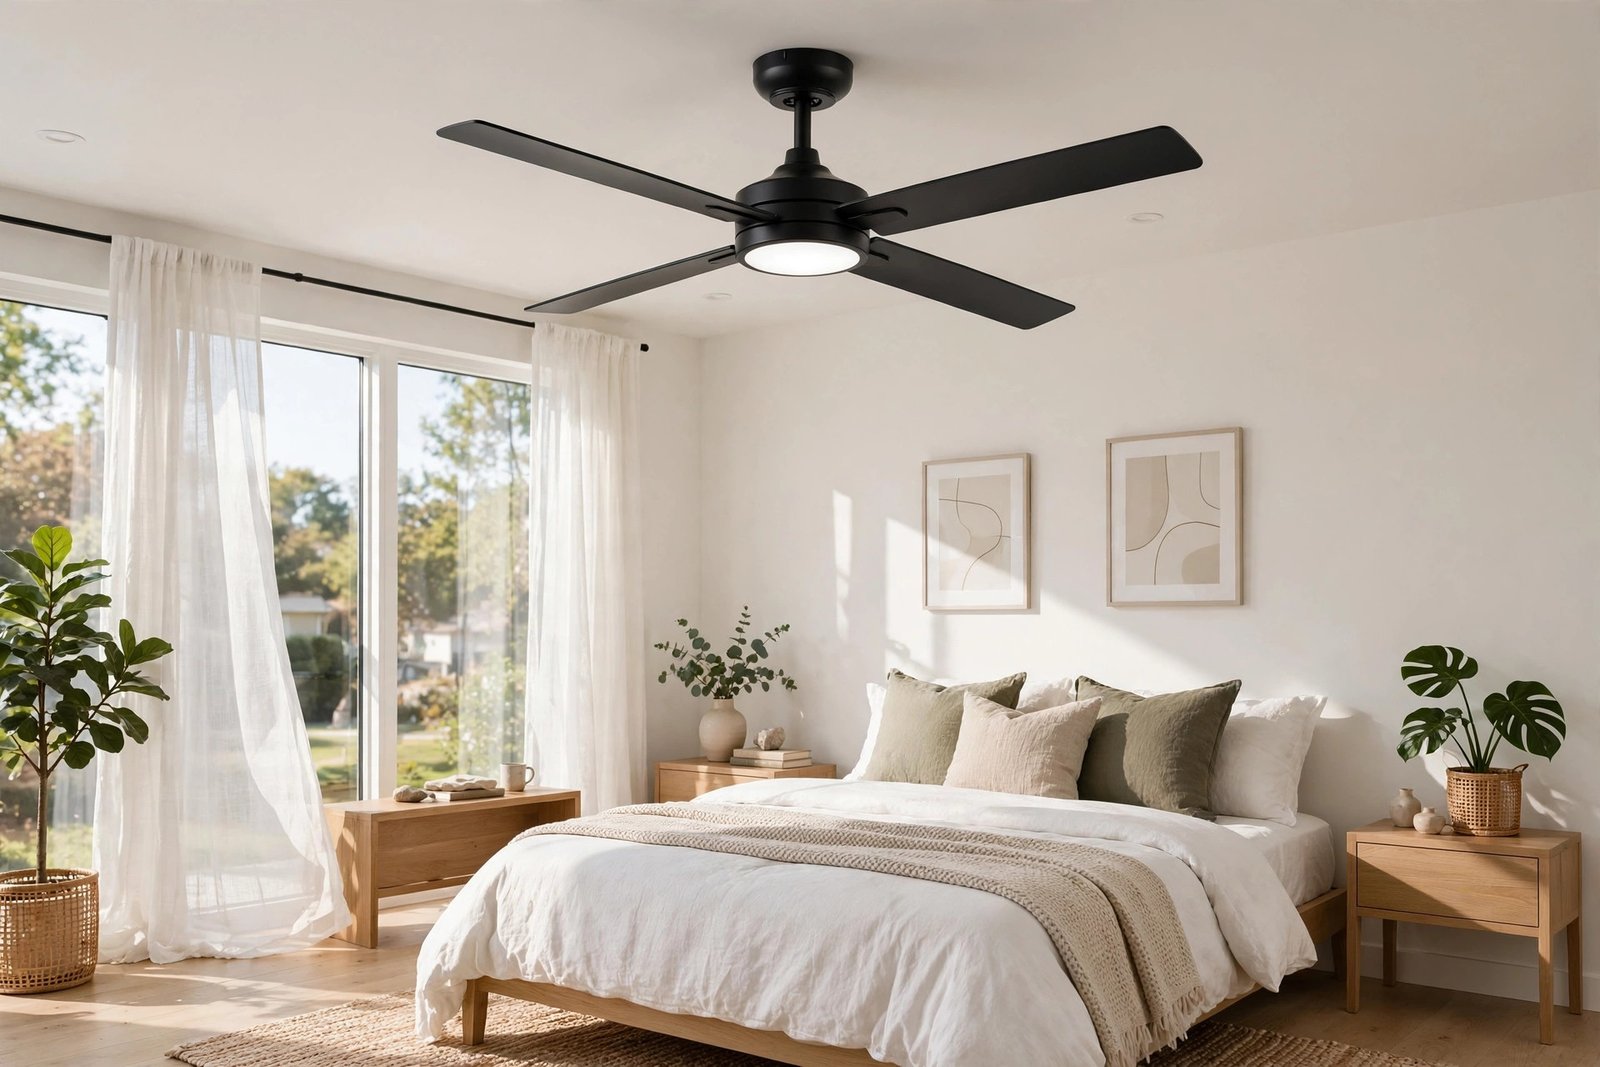
A ceiling fan is one of those upgrades that pays for itself — better comfort, lower energy bills, and it actually looks good. But the cost to get one installed varies wildly depending on your situation. So how much does it cost to install a ceiling fan in 2026? Anywhere from $100 (DIY with an existing fixture box) to $600+ (pro install requiring new wiring). Here’s the full breakdown so you know exactly what you’re in for.
How Much Does It Cost to Install a Ceiling Fan? The Breakdown
- The fan itself: $50–$350. Basic builder-grade fans start around $50; good-looking, quiet, energy-efficient models run $150–$300. You don’t need the $500 designer fan — the $150–$200 range is the sweet spot for quality.
- Professional installation (replacing an existing light fixture): $100–$250 labor. This is the easy case — the wiring and support box already exist, so it’s a straightforward swap taking under an hour.
- Professional installation (no existing fixture): $250–$600+. Running new wiring, installing a fan-rated support box, and possibly cutting into the ceiling takes 2–4 hours. If the electrician needs to run wire from the panel or through finished walls, costs climb.
- DIY installation: $0 labor, but budget $15–$40 for a fan-rated brace box if the existing box isn’t rated for fans (critical — see below).
Typical all-in totals: $150–$400 for a straightforward replacement, $300–$900 when new wiring is needed. Get quotes from at least two electricians for the wired-from-scratch jobs — prices vary enormously.
The Critical Safety Issue: The Support Box
This is the part people skip, and it’s the part that matters most. A ceiling fan vibrates and weighs 15–50 pounds — a standard light fixture box is NOT rated to hold it. You need a fan-rated box, secured to a joist or with an expandable brace bar. Installing a fan on a light-duty box risks the fan literally falling. If you’re replacing an existing light, check the box — if it doesn’t say “suitable for fan support,” replace it ($15–$40 part, and honestly the main reason to consider hiring out if you’re not comfortable in the attic).
Wiring check: if there’s an existing light with a wall switch, the wiring usually works for a fan (you’ll control speed via pull chains or remote). If you want separate wall-switch control of fan and light, that requires additional wiring — electrician territory.
DIY or Hire an Electrician?
DIY if: you’re replacing an existing light fixture, the box is fan-rated (or you’re comfortable installing a brace box from below), and you’re comfortable with basic wiring (black to black, white to white, ground to ground — with the breaker OFF). It’s genuinely a beginner-friendly project in this scenario; there are excellent video walkthroughs, and it takes about an hour.
Hire if: there’s no existing fixture, you need new wiring run, ceilings are very high (over 12 feet — special downrods and safe ladder work), the box needs replacing and you can’t access it from above, or you have any doubt about the wiring. An electrician’s $150–$300 for a simple swap is cheap insurance. And if you’re wondering about bigger electrical projects, read whether DIY electrical work is safe before going further.
Non-negotiable safety: turn off the breaker (not just the wall switch), verify with a non-contact voltage tester ($15 — buy one), and never work on a live circuit. Electricity doesn’t give second chances.
Choosing the Right Fan
- Size matters. Rooms up to 75 sq ft: 29–36″ fan. Up to 175 sq ft: 42–48″. Larger rooms: 52″+. An undersized fan in a big room just stirs the air decoratively.
- Blade pitch. Look for 12–15 degree blade pitch — steeper pitch moves more air. Cheap fans with flat blades are basically ornaments.
- Motor type. DC motors are quieter and more efficient than AC; worth the premium for bedrooms.
- ENERGY STAR rating. ENERGY STAR certified fans use about 60% less energy than conventional models. Given a fan runs hundreds of hours a year, efficiency pays.
- Downrod length. Blades should hang 7–9 feet above the floor, and at least 8–10 inches below the ceiling for airflow. High ceilings need longer downrods.
- Reversible motor. Run counterclockwise in summer (downdraft cooling) and clockwise on low in winter (pushes warm air down). This feature alone extends the fan’s useful season.
The Energy Savings (Why It’s Worth It)
A ceiling fan lets you raise your thermostat 4°F with no comfort loss in summer — and every degree saves roughly 3% on cooling costs. In winter, reversing the fan recirculates trapped warm air. The DOE estimates proper fan use can meaningfully cut HVAC runtime. A $200 fan that saves $100+/year on energy pays for itself in two cooling seasons. Pair it with a smart thermostat and you’ve got a genuinely efficient comfort system.
Ceiling Fans Room by Room: Placement Guide
Not every room wants the same fan — placement and type matter:
- Bedrooms: the highest-value location. A quiet DC-motor fan on low, paired with slightly higher AC settings, improves sleep quality for hot sleepers dramatically. Size to the room; mount so blades clear 7+ feet.
- Living rooms: often the largest fan in the house (52–60″). With high ceilings, use a longer downrod — blades should hang 8–9 feet up, not hug the ceiling where they move no air.
- Kitchens: yes, really — a fan over the island or breakfast nook keeps cooking heat comfortable. Choose a damp-rated model for moisture, and expect to clean blades more often (grease film is real).
- Covered patios: damp-rated or wet-rated fans transform outdoor living in summer. They also discourage mosquitoes — the breeze disrupts their flight. One of the best patio upgrades per dollar.
- Home offices: white noise from a fan on low masks household sounds during calls. The gentle air movement also fights the stuffiness of a closed-door office.
- Rooms to skip: formal dining rooms with chandeliers (visual conflict), tiny bathrooms (overkill), and any room with ceilings under 7.5 feet (clearance issues).
Smart fans: WiFi-enabled fans integrate with smart home systems and thermostats — scheduling, voice control, and automation (fan on when room occupied and temp above X). Nice, not necessary; a $15 remote kit retrofits most existing fans with the core convenience. And remember the seasonal switch: counterclockwise downdraft for summer cooling, clockwise updraft on low for winter heat redistribution. Most people set it once in spring and forget — set a calendar reminder to reverse it in fall and reclaim the free winter comfort.
The Practical Takeaway
Installing a ceiling fan costs $150–$400 for a simple fixture replacement (DIY: just the fan’s price) or $300–$900+ when new wiring is required. The non-negotiables: a fan-rated support box, breaker off + voltage tester, and the right size fan for the room. DIY the swap if wiring exists; hire an electrician for new runs. Buy a quality mid-range fan with a DC motor and ENERGY STAR rating — the energy savings repay the investment fast, and you’ll wonder why you waited.


