
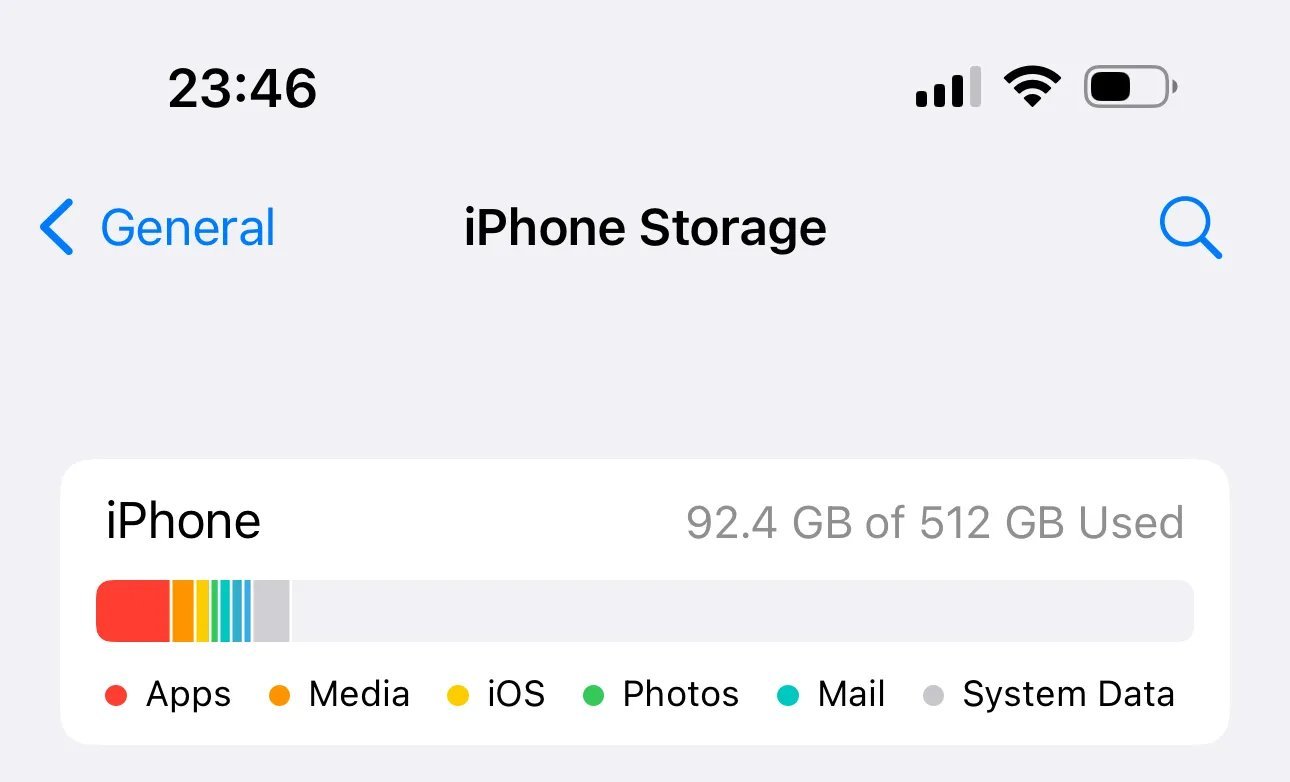
The 'Storage Almost Full' warning always arrives at the worst moment. But how can I free up storage on my iPhone without deleting photos? Turns out, photos are rarely the real problem.
So, how can I free up storage on my iPhone without deleting photos? I've dug into this pretty thoroughly, talked to people who deal with it daily, and run the numbers myself. Here's what I found.
The No-Fluff Answer
The biggest wins: offload unused apps (Settings > General > iPhone Storage), clear Safari and app caches, delete old Messages attachments, and enable iCloud Photos with 'Optimize iPhone Storage' so full-resolution photos live in the cloud. Most people reclaim 10–20GB without touching a single photo. WhatsApp and Telegram media are often secret storage hogs worth checking.
That's the short version. Now let's get into the parts that actually affect your wallet and your day.
For more on this, see our guide to How do I transfer all my photos from an old iPhone to a new one.
For the official word, check Apple's official guide to managing iPhone storage, which lays out the details straight from the source.
How Can I Free Up Storage on My iPhone Without Deleting Photos?
- Offload Unused Apps removes the app but keeps your data — reclaim gigabytes from apps you haven't opened in months.
- The part nobody mentions: Review large attachments in Messages: years of shared videos and memes can quietly eat 5–15GB.
- Real talk: Enable Optimize iPhone Storage under iCloud Photos to keep lightweight versions on-device and full-res in the cloud.
- Delete downloaded Netflix, Spotify, and podcast episodes you've already watched or heard.
- The 'Other' or 'System Data' category shrinks after a restart and an iOS update — try both before anything drastic.
Here’s How It Plays Out
My mom's iPhone showed 2GB free and she was ready to delete vacation photos. Twenty minutes later — offloaded apps, cleared WhatsApp media, optimized photo storage — she had 24GB free and hadn't lost a single picture.
Where iPhone Storage Actually Goes
Here’s something the spec sheets won’t tell you: real-world performance and advertised performance are different animals. Battery life is measured in lab conditions, WiFi speeds assume you’re hugging the router, and “water resistant” comes with fine print that would make a lawyer blush. I take every manufacturer claim and mentally shave off 20–30%. If the product still looks good after that haircut, it’s probably genuinely good.
User reviews are your best friend here — but read them like a detective, not a tourist. Ignore the five-star raves and the one-star rants; the truth lives in the three-star reviews where people explain exactly what bugged them after a month of real use. Sort by “most recent” too, because firmware updates can fix or break things, and a review from two years ago might describe a product that barely exists anymore.
Let’s talk about the DIY-versus-pro question, because it comes up constantly. The internet makes everything look easy — a ten-minute video, a $20 kit, and you’re supposedly set. Sometimes that’s genuinely true. But the videos never show you the three hours of troubleshooting, the stripped screw, or the part that arrives broken. My rule of thumb: if a failed DIY attempt would cost you more than the pro would have charged in the first place, just hire the pro. Your time has value, and so does your sanity.
That said, there’s real satisfaction in fixing something yourself, and plenty of tech tasks are genuinely beginner-friendly once you know which ones. The trick is matching the job to your actual skill level, not the skill level of the YouTuber who does it for a living. Start small, read the comments (that’s where the real warnings live), and have a plan B before you open anything up.
Related reading: Is cloud storage better than an external hard drive for family photos.
What Works in the Real World
- A small thing that makes a big difference — check Settings > General > iPhone Storage first — the color-coded breakdown shows exactly what's eating space.
- Veterans of this stuff all say the same thing: set Messages to auto-delete after 1 year instead of keeping everything forever.
- If you remember one tip from this list, make it this: stream music instead of downloading entire playlists for offline use.
- Here's one that saves people real money: update iOS regularly; newer versions manage storage more efficiently.
Mistakes People Keep Making
- This trips up beginners all the time: deleting precious photos first instead of checking what's actually using the space.
- Watch out for this: paying for more iCloud storage when 15GB of deletable app junk is the real issue. It's the kind of thing that seems fine until it isn't.
- A lot of folks ignoring the 'Review Downloaded Videos' recommendation iOS literally suggests to you. — and honestly, it's an easy trap to fall into.
A Few More Questions Answered
What's the biggest mistake beginners make?
Rushing. People either buy the first option they see or dive into a fix without reading the instructions twice. Slow down, compare at least three options, and read the fine print — especially around warranties, return windows, and what's actually included. Ten extra minutes of patience routinely saves hundreds of dollars.
Can I do this myself, or should I get help?
It depends on your comfort level and what's at stake. Low-risk tasks with good tutorials are great DIY candidates. But if messing up would cost you the device, your data, or your warranty, that's the moment to call in someone experienced. There's no shame in it — pros exist for a reason, and their mistakes are their problem, not yours.
How long does this usually take?
Honestly, it varies more than most guides admit. A straightforward case might take under an hour, while anything involving shipping, appointments, or waiting on parts can stretch to several days. My advice: ask for a realistic timeline up front, then add a buffer. If someone promises it'll be instant, get the details — 'instant' usually means 'the easy part is instant.'
My Take
Photos are almost never the culprit — apps, caches, and old downloads are. Work through the storage breakdown top to bottom and you'll likely free up plenty of room in under half an hour.
You don't need to become an expert here — you just need enough to make a smart call and move on.
If that piqued your interest, you’ll like What is the difference between SSD and HDD storage too.
One more useful resource: Apple's iCloud storage overview — worth bookmarking before you make any final decisions.


