
How to Program a Garage Door Opener: Step-by-Step Guide (2026)
To program a garage door opener, press the Learn button on the motor unit, then press the button on your remote or keypad within 30 seconds until the opener light blinks or clicks — your code is now synced. The exact sequence varies slightly by brand (LiftMaster, Chamberlain, and Genie all use slightly different Learn button colors and press counts), but the process takes about five minutes and requires nothing but a stepladder. The full brand-by-brand walkthrough is below.
Whether you just moved into a new house, bought a replacement remote, or installed a keypad for the kids, programming a garage door opener is one of those tasks that sounds technical and turns out to be almost embarrassingly simple. New Yorkers with homes upstate, on Long Island, or in Staten Island and Queens deal with this plenty — and if you’ve ever stood in a driveway in January pressing a dead remote, you know why it’s worth doing right the first time.
Before You Start: What You Need
- A stepladder (the motor unit hangs from the garage ceiling)
- The remote, keypad, or car’s built-in HomeLink buttons you want to program
- Fresh batteries in the remote or keypad
- The opener’s manual, if you still have it (helpful but not required)
First, identify your opener brand and model — it’s printed on the motor unit hanging from the ceiling. The three big brands in the US are LiftMaster/Chamberlain (same company, same programming logic) and Genie. Older openers from Craftsman, Overhead Door, and others follow similar patterns.
Important Safety Note
Never program or test an opener while anyone — kids, pets, neighbors — is in the door’s path. After programming, test the safety reversal system: place a 2×4 flat on the ground where the door closes. When the closing door hits it, it should reverse immediately. If it doesn’t, adjust the force settings per your manual before using the door. This is a non-negotiable safety check, especially in homes with children.
How to Program a Garage Door Opener Remote
Step 1: Find the Learn button on the motor unit
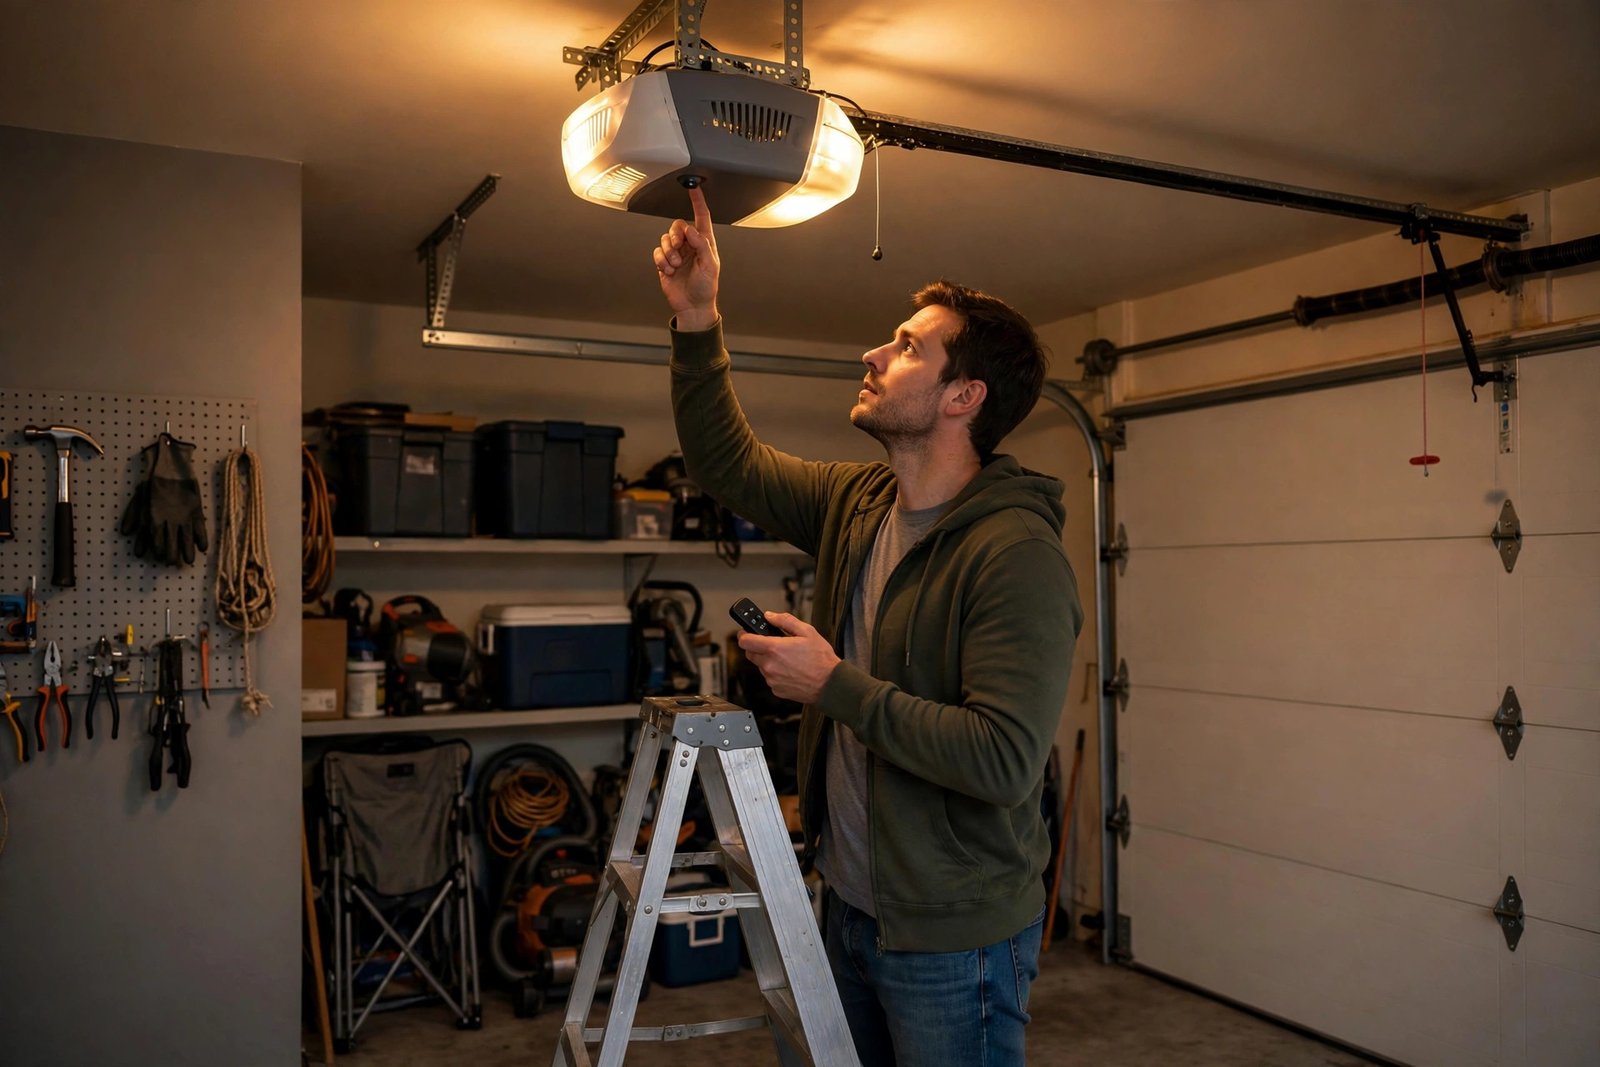
Climb the stepladder and look at the back or side of the ceiling-mounted motor unit. You’ll find a button labeled “Learn” (sometimes “Program” or “Smart”). On LiftMaster/Chamberlain units, the Learn button is color-coded and the color tells you the radio frequency:
- Yellow — Security+ 2.0 (newest, 2011+)
- Purple — Security+ 315 MHz (2005–2010)
- Red/Orange — Security+ 390 MHz (1997–2004)
- Green — Billion Code 390 MHz (pre-1997)
The color matters because replacement remotes must match the frequency. If you’re buying a new remote, match the Learn button color to the remote’s compatibility. Genie units typically have a Learn button under a light cover or on the side, sometimes labeled “Program Set.”
Step 2: Press and release the Learn button
Press the Learn button once and release it. The LED next to it will light up (or start blinking), and you now have about 30 seconds to complete the next step. Don’t hold the button down for several seconds — on most brands, holding it for 6+ seconds erases all programmed remotes, which is the opposite of what you want.
Step 3: Press the remote button
Within 30 seconds, press and hold the button on your remote that you want to use for this door. On most LiftMaster/Chamberlain units, you’ll press and release it once, wait for the opener light to blink or click, then press it a second time to confirm. On Genie Intellicode units, press the remote button 3–4 times in succession, pausing a second between presses, until the door moves.
Step 4: Confirm it worked
Press the remote button once more, away from the Learn step. The door should open or close. If nothing happens, repeat the process — timing is the usual culprit. Make sure you’re within range and the remote battery is fresh.
How to Program a Wireless Keypad
An exterior keypad is a lifesaver — no more hiding a spare key under a fake rock. The process is nearly identical to remote programming, with one extra step: choosing your PIN.
- Press the Learn button on the motor unit (30-second window starts).
- On the keypad, enter your desired 4-digit PIN, then press Enter/Program.
- The opener light blinks or clicks to confirm.
- Test it: enter the PIN and press Enter. The door should move.
On Genie keypads, the sequence is: press the Program button on the keypad first, enter your PIN, press Program again, then sync with the motor unit’s Learn button. Check your keypad’s model number if the generic sequence doesn’t take — Genie has a few variants.
PIN tip: Don’t use your house address, birth year, or 1234. A keypad PIN is only as secure as you make it, and garage keypads are visible to anyone walking past.
How to Program HomeLink (Built Into Your Car)
Most cars built after the mid-2000s have HomeLink buttons on the visor or mirror. Programming them takes two phases:
- Clear old codes (for a new-to-you car): Hold the two outer HomeLink buttons for about 20 seconds until the indicator light flashes rapidly. Skip this if the car is brand new.
- Train HomeLink to your remote: Hold your garage remote 1–3 inches from the HomeLink buttons. Simultaneously press and hold the remote button and the HomeLink button you want to use until the HomeLink light changes from slow blink to rapid blink.
- Sync with the opener: Press the Learn button on the motor unit, then within 30 seconds, press and hold the HomeLink button in your car for 2 seconds, release, and repeat up to 3 times until the door moves.
Step 3 trips up most people — older “fixed code” openers only need step 2, but every modern rolling-code opener (anything from the last 25 years) needs the Learn-button sync too. If your car manual and the opener manual seem to contradict each other, trust the opener’s Learn-button step.
How to Erase All Remotes and Start Fresh
Just moved in? Lost a remote? This is a security must-do. Press and hold the Learn button for about 6 seconds until the LED goes out. That wipes every remote, keypad, and car paired to the opener. Then reprogram only the devices you actually own using the steps above.
This is especially worth doing after a move — you have no idea how many remotes the previous owners handed out to neighbors, dog walkers, and contractors over the years.
Troubleshooting: When Programming Doesn’t Work
- Nothing happens after pressing Learn: The 30-second window probably expired. These windows are short — have the remote in your hand before you press Learn.
- Remote works from inside the garage but not the driveway: Weak battery or radio interference. Replace the battery first. LED light bulbs in the opener (non-garage-rated LEDs) are a notorious source of interference — swap them for garage-door-opener-rated bulbs.
- Door opens but won’t close with the remote: This is usually the safety sensors, not programming. Check that the two sensor eyes at the bottom of the door track are aligned and their LEDs are lit.
- Keypad works intermittently: Cold weather drains keypad batteries fast — a real factor in Northeast winters. Replace the 9V battery and consider keeping a spare.
- Brand mismatch: A Genie remote won’t program to a LiftMaster opener and vice versa. Universal remotes (like the Chamberlain KLIK5U) exist and work across brands, but they must be set to your opener’s frequency first.
Mistakes to Avoid
- Holding Learn too long and wiping everything — a quick press-and-release programs; a 6-second hold erases. Know which one you’re doing.
- Skipping the erase step after moving in — old remotes in unknown hands are a genuine break-in vector.
- Ignoring the safety reversal test — program first, then verify the door reverses on contact. Every time.
- Programming with a dying battery — weak batteries cause half-syncs that work once and fail later.
- Standing under the door during testing — always test from the side, clear of the door’s path.
Programming a Multi-Button Remote for Multiple Doors
If your garage has two or three doors, a multi-button remote keeps you from carrying a pocketful of clickers. Each button programs independently using the same Learn-button process:
- Press the Learn button on the first door’s motor unit.
- Press and hold button 1 on the remote until the opener confirms.
- Move to the second door’s motor unit, press its Learn button, and program button 2 the same way.
- Repeat for a third door if needed.
Label the buttons with a paint pen or small stickers — six months from now you won’t remember which is which. If you ever replace one opener, you only need to reprogram the button assigned to that door; the others keep working.
When to Call a Professional
- Broken springs or cables: Torsion springs store enormous energy and injure DIYers every year. Programming is safe; spring work is not.
- The opener hums but the door doesn’t move: Likely a stripped gear or dead motor — a repair job, not a programming issue.
- The door is crooked or off its track: Don’t force it with the remote. Call a garage door technician.
- Ancient opener with no Learn button and no DIP switches: A pro can install a universal receiver that gives your old opener modern remote compatibility for a fraction of replacement cost.
Quick-Reference Cheat Sheet
- Program a remote: Press Learn once → press remote button within 30 seconds → test.
- Program a keypad: Press Learn once → enter 4-digit PIN + Enter within 30 seconds → test.
- Program car HomeLink: Train HomeLink to remote → press Learn → hold HomeLink button (repeat up to 3×).
- Erase everything: Hold Learn for 6 seconds until LED goes out.
- Golden rule: Tap to program, hold to erase. Mix those up and you’ll be reprogramming everything.
FAQs
How do I program a garage door opener without a Learn button?
Very old openers (pre-1990s) use DIP switches instead of a Learn button. Open the remote and the motor unit, match the switch positions on both, and you’re done. If there’s no Learn button and no DIP switches, the opener may be too old to pair with modern remotes — a universal receiver kit can bridge the gap.
Can I program a second remote to the same opener?
Yes — most openers store 5 or more devices. Just repeat the Learn-button process with the new remote. Programming a new device doesn’t erase the old ones (unless you hold the Learn button down for 6 seconds).
Why does my garage door opener remote only work sometimes?
The usual suspects: a dying battery, radio interference from LED bulbs or nearby electronics, or the remote being at the edge of its range. Replace the battery first — it fixes the problem more often than anything else.
How much does it cost to have someone program a garage door opener?
A service call typically runs $75–$150, which is steep for a five-minute job you can do yourself. Save the pro visit for actual repairs — broken springs, snapped cables, or a dead motor.
Will a universal remote work with my opener?
Most likely, yes. Universal remotes like the Chamberlain KLIK5U cover the major brands and frequencies. Just set the remote to match your opener’s Learn button color/frequency before starting the Learn process.


